
Tomb Raider 4: The Last Revelation
Level 9 Revisted: "Sacred Lake" 2nd Visit Walkthrough
This walkthrough is for the second visit to Sacred Lake after picking up the Sun Disk in the Hypostyle Hall. If you are looking for the 1st visit to this area, check out to Part 1 of the "Sacred Lake".
Available Secrets: 1
Items Found: Crossbow Explosive Ammo (1), Flares (3), Large Medipack (1), Shotgun Normal Ammo (3), Shotgun Wideshot Ammo (2), Small Medipack (4), Uzi Ammo (3)
Weapons Found: Uzi
Enemies: Bats, Black Scorpions
Remember: If you can't make out the images in the Walkthrough, click on them to open a larger one. Also, hover over, or click, on coloured words for helpful images.
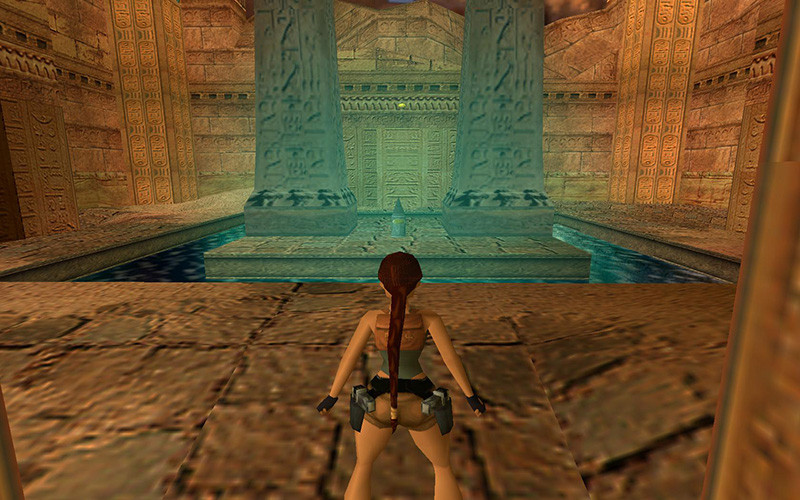 As you leave the shortcut tunnel, draw your pistols and prepare to deal with the tiny venomous creatures. That's right, the Black Scorpions are back! There are 3 skittering around the Obelisks in the middle. I would recommend heading left and circling the monument clockwise as you deal with them, or jump to the middle.
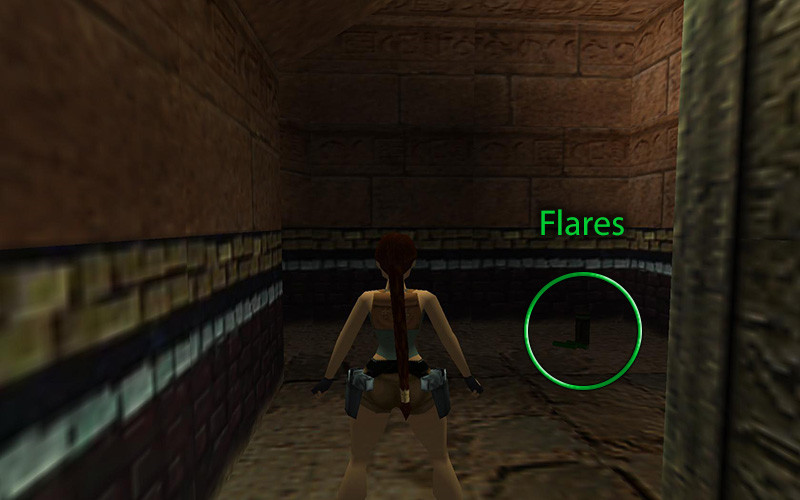
If you want to collect all the items in the game, or think you need more Flares, go into the pit in the northeast corner of this area, crawl through and take a right. Another Black Scorpion will greet you as you enter this area. With Flares in hand, don't bother jumping up into the other crawlspace – it just takes you back to the lake – instead return to the monument.
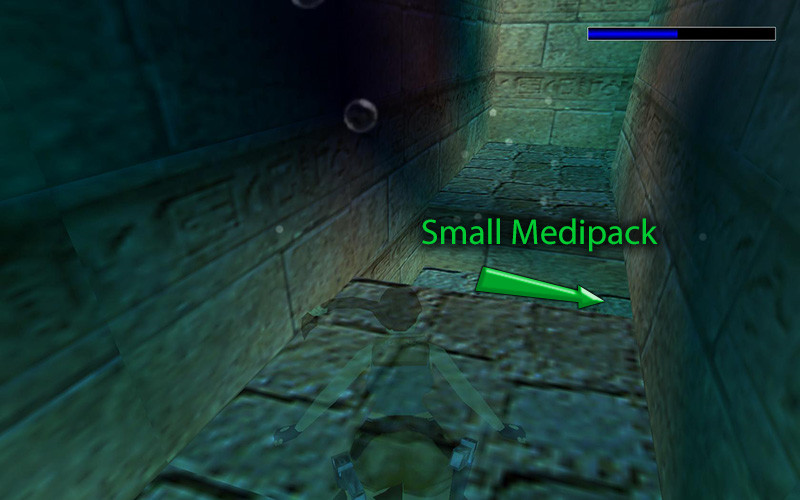
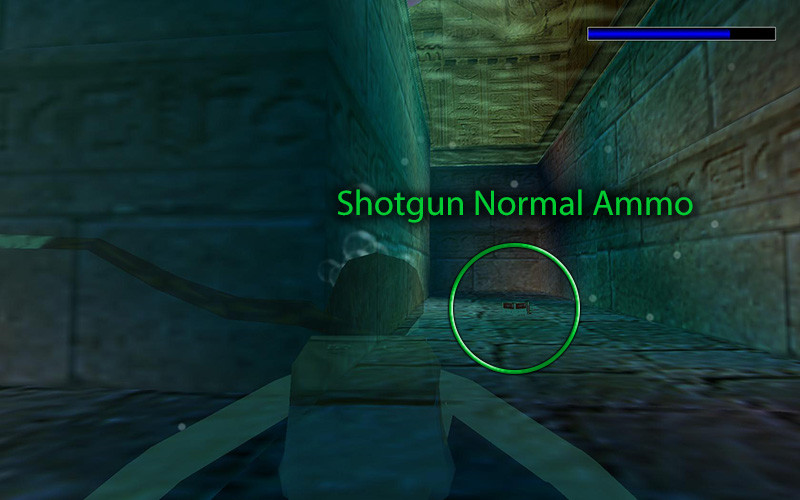
Dive into the water and head to the west side where you will find a shallow alcove under the monument with a Small Medipack, then swing to the east side and loot the Shotgun Normal Ammo. Pull yourself out of the water and onto the middle platform. First, combine the Sun Disk and Sun Goddess in your inventory, then use the newly created Sun Talisman on the small receptacle in the middle. The mystical powers of the talisman will open 3 paths, but only one isn't a dead end.
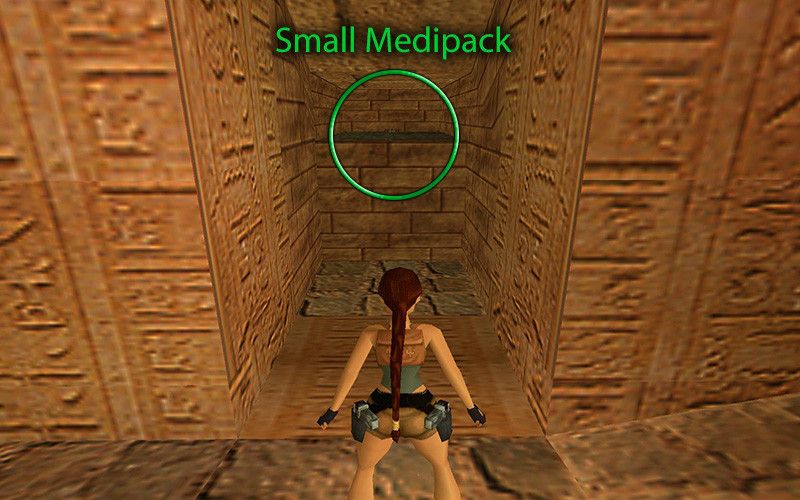
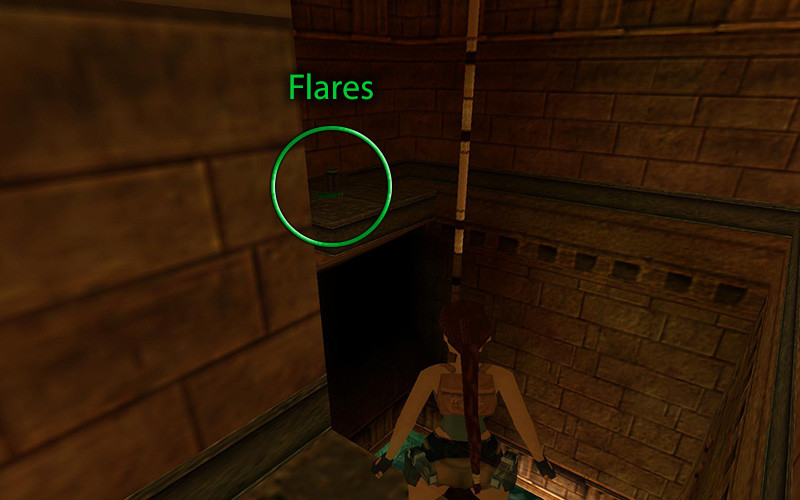
First, let's head to the north room to steal the Small Medipack, then head south. In the south room you'll find another pole, with Flares on the nearby ledge. Face Lara toward the pole (use LOOK to make sure you're lined up), and grab hold of it. Swing around, back-flip to the ledge and grab your loot.
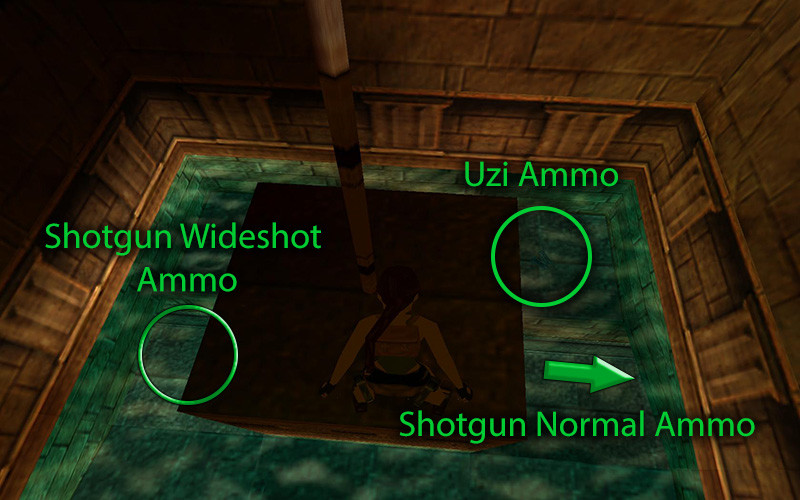
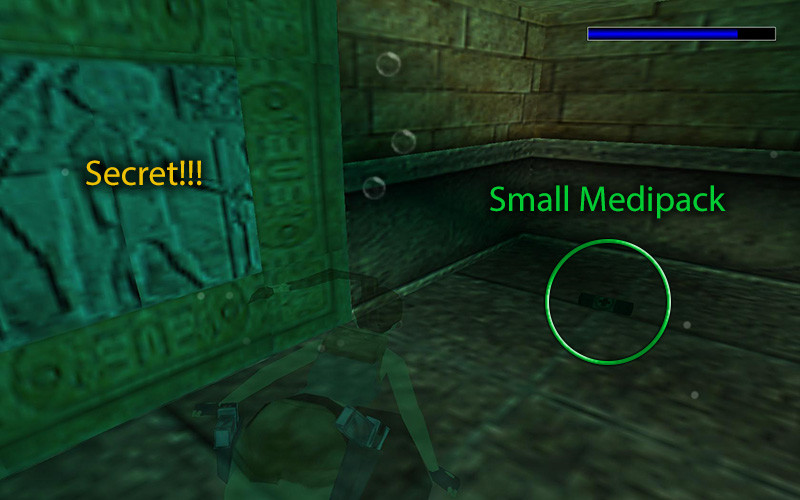
Leap back to the pole and slide all the way down. If you use LOOK you will find Uzi Ammo in the shallow water on the southwest corner. Yeah, shallow water. Aren't you glad you didn't just swan dive off the ledge? Now enter the deeper water on the west side and snag some Shotgun Normal Ammo. Once looted, head around to the other side for some Shotgun Wideshot Ammo. Before opening the door, there's also a Small Medipack to the right of it.
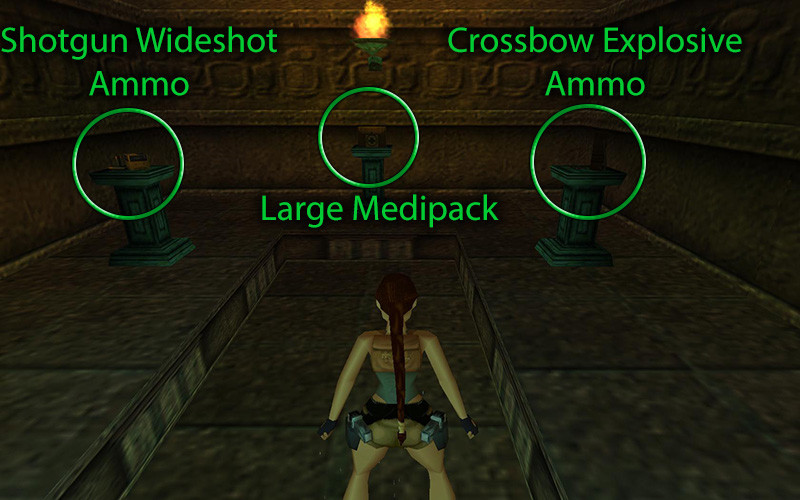
Now enter that door and swim down the passage to hear a familiar tune. That's right – a Secret (30 of 70)! It's been a while since we found one of these. After emerging the narrow passage, you will find 3 items on pedestals. Grab the Shotgun Wideshot Ammo, Large Medipack, and Crossbow Explosive Ammo, then return to pole. To return to the monument, backflip to the ledge where we grabbed the Flares, then do a diagonal running curved jump to the exit (don't forget, she can turn slightly in mid-air).
 With all that looted, let's continue on through the west path. Inside you'll find a large room with an odd rock in the middle. Search the left side (east) for an alcove to climb into for Shotgun Normal Ammo, Small Medipack and Uzi Ammo.
Now comes the part that stumps so many... getting to the opening high up on the south wall. Head to the rock in the middle and climb onto the small step on the east side. From here, jump up and climb to the higher rock, but don't move or you'll fall back down. Jump up and grab the bars on the ceiling and climb toward the south opening. About half way there, 2 or 3 Bats will attack you. If you have lots of health at this point, just ignore them and continue south. Otherwise, drop down, kill the rodents, then retrace your steps. Once at the wall, release the action to let go of the bars and quickly press it again to grab the ledge. Pull yourself up into the crawlspace, and head inside until you can stand. If you didn't kill the Bats, and they are still attacking you, feel free to fire at will.
Go all the way to the wall and jump into the crawlspace on your left for some Uzi Ammo, then go back and enter the right crawlspace to continue onward. If you didn't kill all the Bats yet, they will likely attack you again here. Once you're at the end, turn around, then jump and grab the ledge above the crawlspace.
I would recommend you to save here, if you haven't already. On the upper level, you need to take a running jump to grab the next platform to your left, then drop to the platforms above the room we originally entered. Now take another running jump to reach the opening on your left.
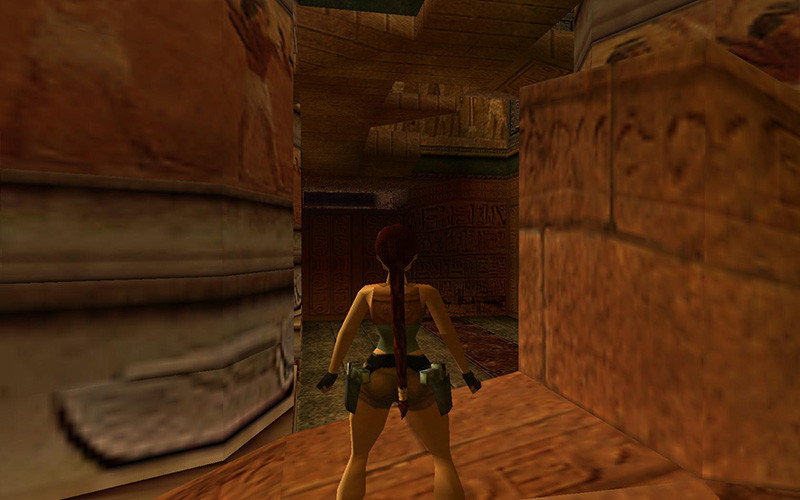
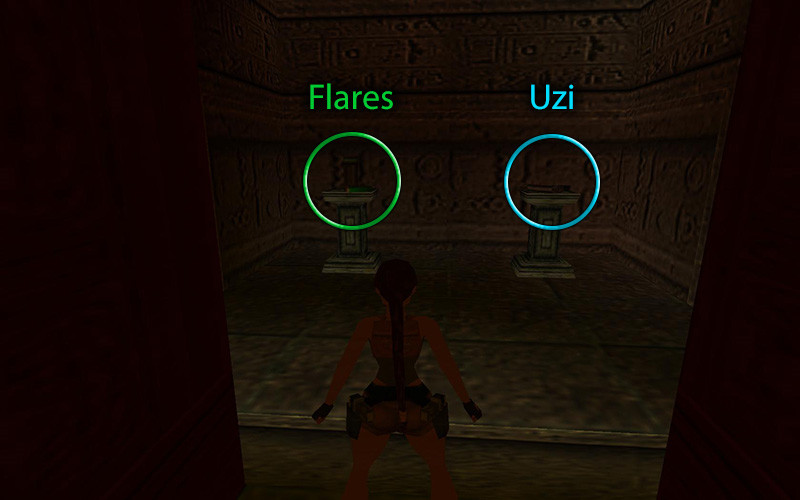
Once in the next room, another 2 or 3 Bats (depending how many bats you fought earlier) will attack, so whip out those pistols and deal with them. Head down the long ledge and safely drop down on the far north side. Head into the south room (not outside) for Flares and an Uzi. Now head outside and head to the far door to finish the level.
Missed the ending cinematic? Click here to watch it.
Continue to the Tomb of Semerkhet