
Tomb Raider 4: The Last Revelation
Level 9: "Sacred Lake" Walkthrough
This walkthrough is for the first visit to Sacred Lake after sliding down from the First visit to the Great Hypostyle Hall. If you are looking for the 2nd visit to this area, check out to Part 2 of the "Sacred Lake".
Available Secrets: 0
Items Found: Canopic Jar 2, Flares (1), Large Medipack (1), Shotgun Normal Ammo (2), Small Medipack (2), Uzi Ammo (2)
Weapons Found: None
Remember: If you can't make out the images in the Walkthrough, click on them to open a larger one. Also, hover over, or click, on coloured words for helpful images.
 The real Sacred Lake is definitely void of any buildings, but who knows what happened after Lara got her raiding hands on it. This lake became "sacred" as it was used by priests in ritual washing and navigation. It is completely man-made, and was built in the time of Tuthmosis III.
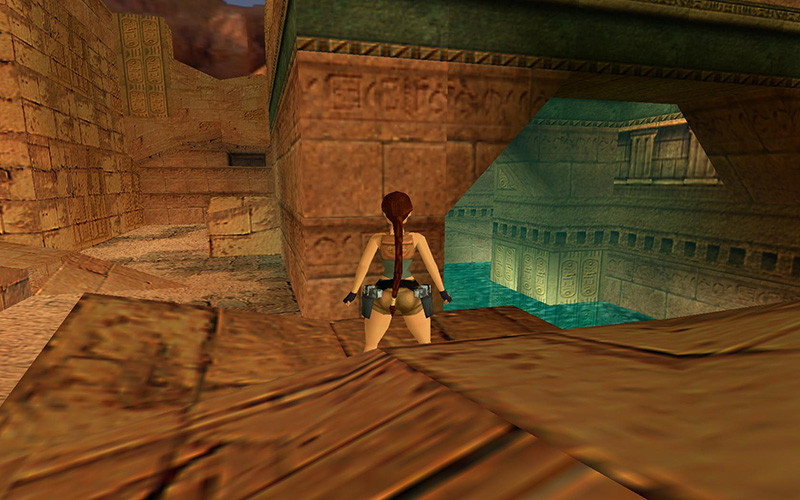
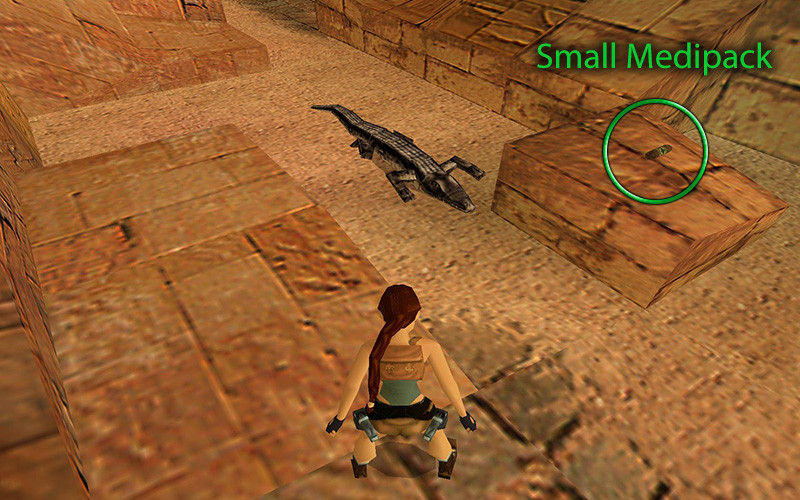
After sliding down from your first visit to the Great Hypostyle Hall, you will find yourself outside again. New types of enemies are here to greet you: 2 Bats on your right and a Crocodile on your left. You may want to head left first, take out the snapping beast, then take care of the rats with wings. Once safe, grab the Small Medipack from the low rock in the middle.
Head left, sticking on land, with weapons drawn. There are 3 more Crocodiles around the lake to kill. If you head down the ramp on the south side, you should be able to lure them toward you by firing your pistols to take them out safely. You likely noticed a crawlspace at the top of the ramp – ignore it for now; that part is covered in part 2 since we need items for it. Once safe, dive into the water and get out on the sandy beach on the other side.
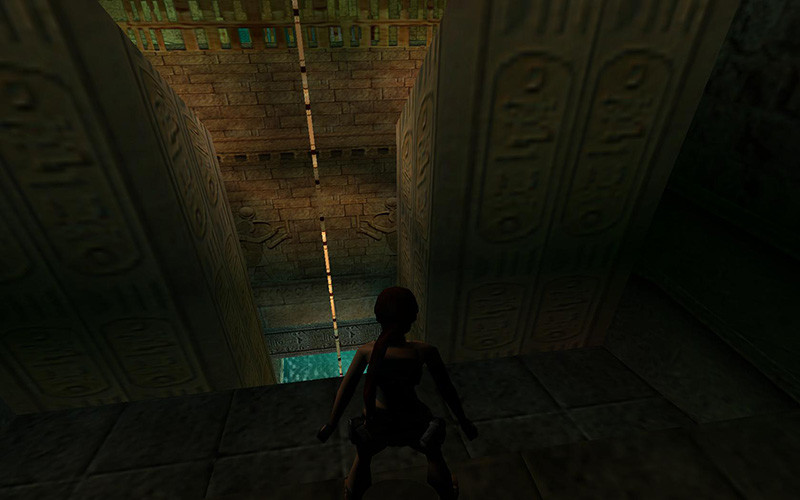
Note, the closed gate to your right, you will need to return here later. Run to the north wall and follow it until you find a small entrance. There are two Bats flying around here, so keep your pistols armed and ready to deal with them. Keep going straight and enter the pit at the far end.
 You will find yourself in a larger room with a massive pole in the middle. Save here, then slide down to that pole and climb it until your above the next platform with another pole. Backflip off the pole (you can turn around mid-air if you like but it's not needed) and climb up the next pole to the next platform and dismount with another backflip. Climb up and crawl into the opening in the wall and follow the path to the chain. Use ACTION at the chain and the gate we saw earlier will open, and by doing so more Crocodiles will be free to eat you. Good job! Isn't it odd that they have windows that can hold back the water? The technology of Ancient Egypt must have been amazing! Let's head back to the pole room.
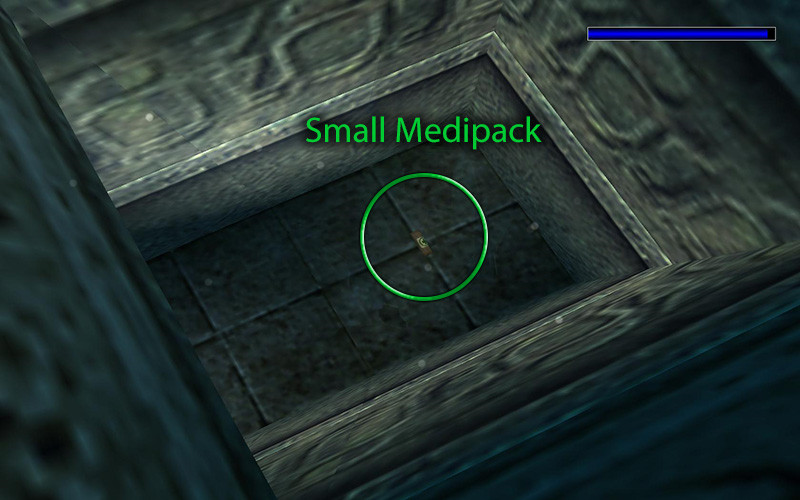
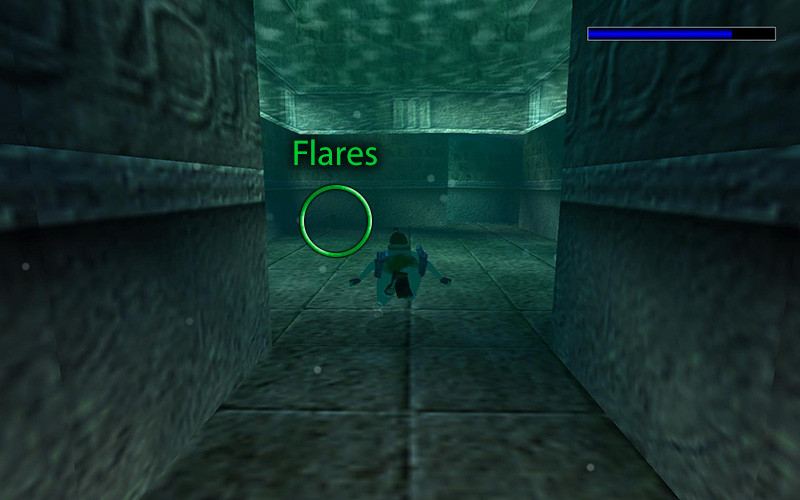
Safely drop down to the platform the nearest pole is on, then jump and grab the pole in the middle of the room. Slide down and step off into the small pit just to your left. Grab the Small Medipack on the bottom. Follow the tunnel and grab the Flares further down the path where it gets wider. You might want to take a breath here, then follow the tunnel back to the lake, but don't dawdle – the Crocodiles are nearby. Swim to the sandy beach or either of the two slopes and deal with the beasties.
Now you can swim through that gate. Climb out on the ledge to your right (on the south side), and climb up to the next ledge and grab the Small Medipack and Shotgun Normal Ammo. Now back into the pool – and climb the ledge on the other side. There's another Shotgun Normal Ammo in the same spot as the last one.
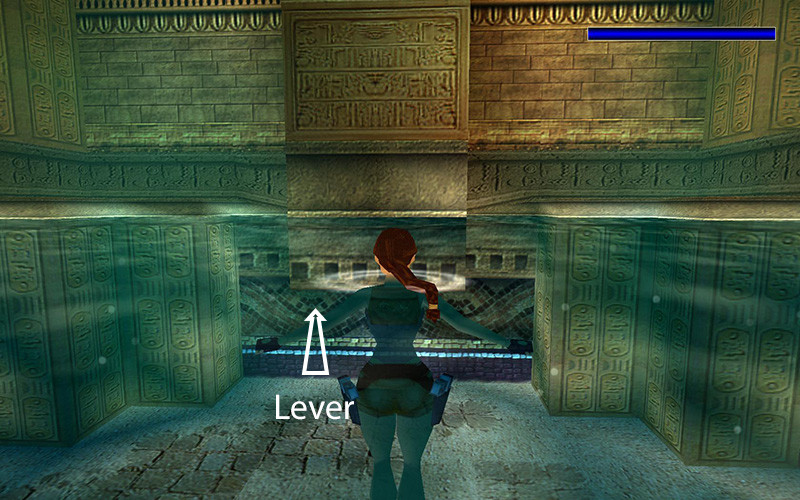
Into the water once more, and find the lever under the ledge opposite of the gate. This will open a new tunnel down. Head inside and open the door with the blue tiles, then head back to get some air. (If you are hitting a gate, you're taking the wrong tunnel.) This next tunnel is full of some very cramped spaces, and it is very easy to get turned around, so I would recommend saving before diving down.
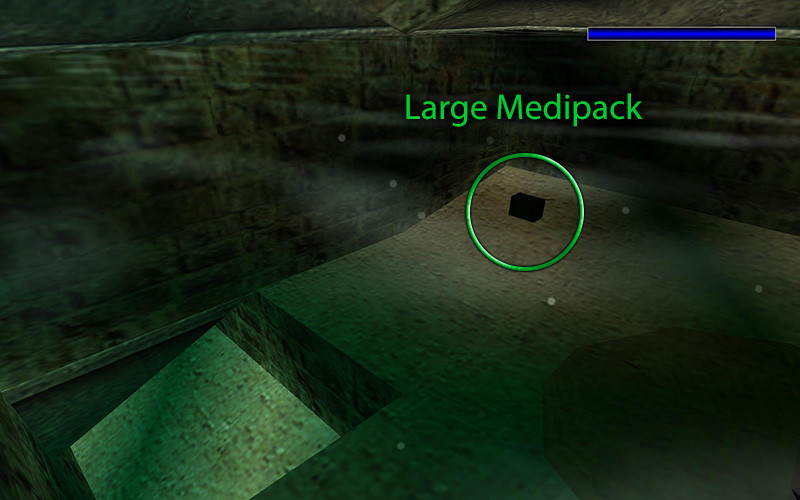
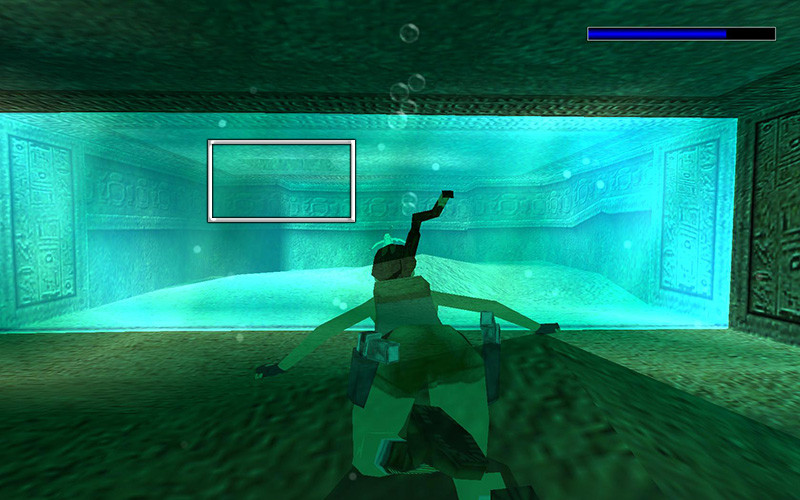
Beyond the door you will take a left, a right, another left, then another right. You should find yourself in a room with a pocket of air to catch your breath, and a Large Medipack. Save again, then head back into the water and swim until the path goes left, and go UP! You should find yourself in a room with a large mirror, but the mirror is showing something different than what you see. See that opening in the ceiling? Use the mirror to find it and climb up. Follow the path and you will find 2 Uzi Ammo on each side of the hole you climbed out of, and the elusive Canopic Jar 2! Sweet, now we can head back to the Temple.
Sadly, to get there, we need to swim back through that underwater passage, so save first and make your way back to the lake. Take a breath and head into that other underwater passage to the north where the gate opened. This will take us back to the Temple of Karnak..
Return to the Temple of Karnak