
Tomb Raider 4: The Last Revelation
Level 8: "The Great Hypostyle Hall" Walkthrough
This walkthrough is for the first visit to The Great Hypostyle Hall after entering the door from the Temple of Karnak. If you are looking for the 2nd visit to this area, skip to Part 2 of the "The Great Hypostyle Hall".
Available Secrets: 0
Items Found: Flares (2), Shotgun Normal Ammo (2), Shotgun Wideshot Ammo (1), Small Medipack (3), Uzi Ammo (3).
Weapons Found: None
Enemies: Black Scorpions
Remember: If you can't make out the images in the Walkthrough, click on them to open a larger one. Also, hover over, or click, on coloured words for helpful images.
 The Great Hypostyle Hall was originally thought to be built by Horemheb, or Amenhotep III, but the real man in charge was Seti I, so it is of no surprise that our journey to solve this whole rise of Seth problem would take us here. While this area may have a grand sounding name, our first visit will be very short - so short that the level can easily be completed in a minute or two (including the cutscene) if you ignore the items scattered throughout the area.
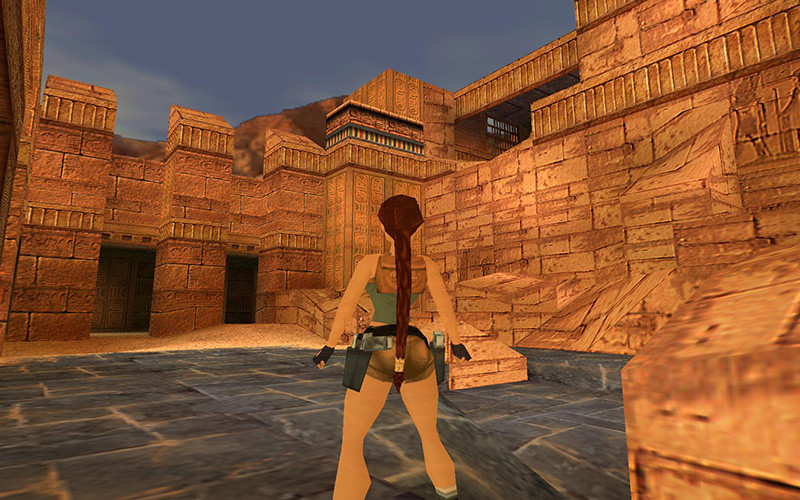
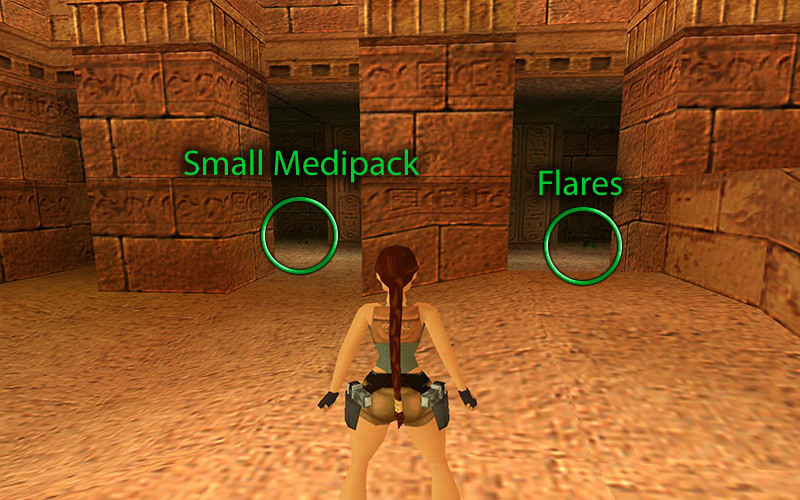
After sliding down from the Temple of Karnak, you will find yourself in a much darker chamber. First, climb out of the shallow pit and make your way outside. On the boulders on the other side of the yard is a box of Shotgun Normal Ammo. Next, head toward the pillars to the south with pistols drawn and take care of the Black Scorpion playing hide-and-seek. Once it's dealt with head inside grab the Small Medipack and Flares. Better jump back and draw your pistols when you grab the flares – another Black Scorpion will scamper from around the corner.
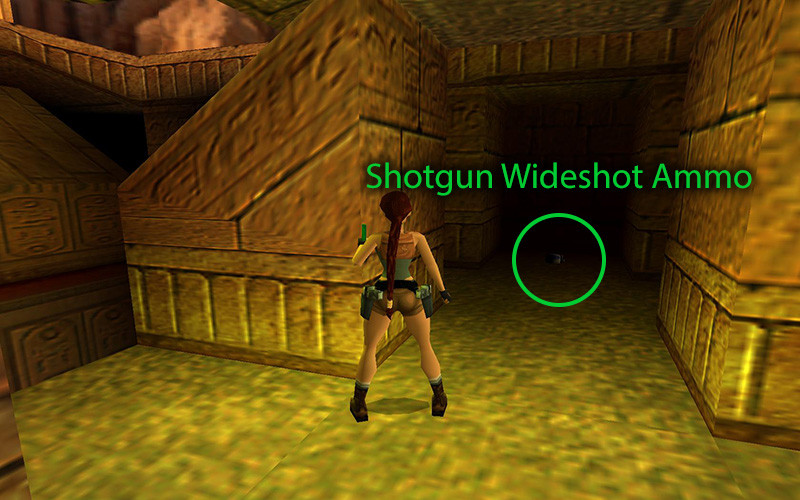
There's nothing else here, so sprint back across the yard and enter the far entrance. Run past the pillars and enter the room on the right with pistols ready. Kill the 2 Black Scorpions inside, then climb the blocks in the back to reach the upper section. There are 2 more Black Scorpions up here, so be prepared. (Both may not appear depending on where you walk.) You'll find Shotgun Wideshot Ammo. in the north-west alcove, and Uzi Ammo in the south-east.
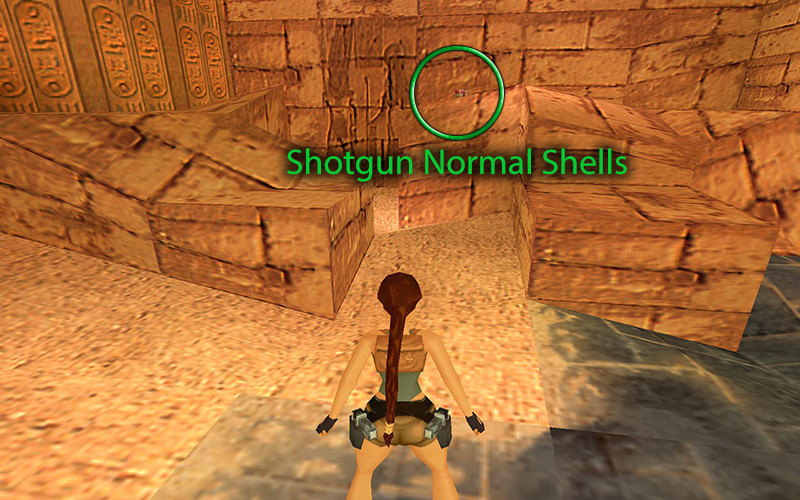
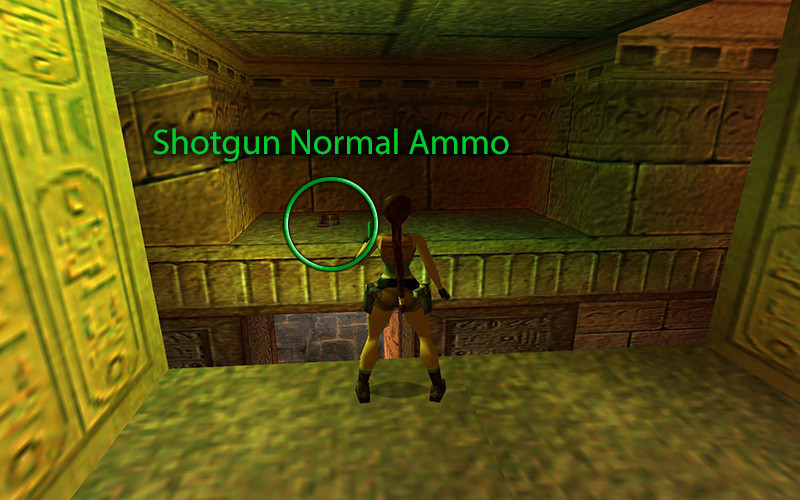
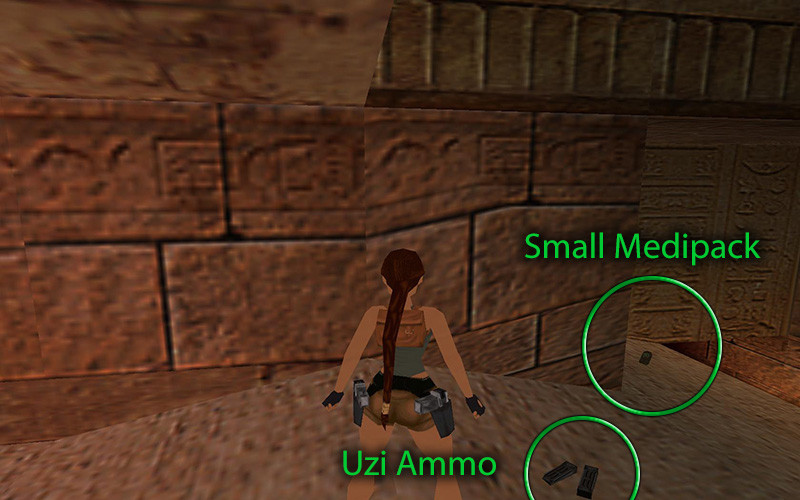
With items in hand, you will find bars on the ceiling in the north-west exit. Use these to climb forward and to the left. Shotgun Normal Shells are resting on the far ledge. Turn around and jump from section to section until you get to the other side and snag the Flares. Jump back to either middle platform, then west to the small one in the middle, and finally to the sandy ledge. Follow it to the corner and pick up the Uzi Ammo and Small Medipack.
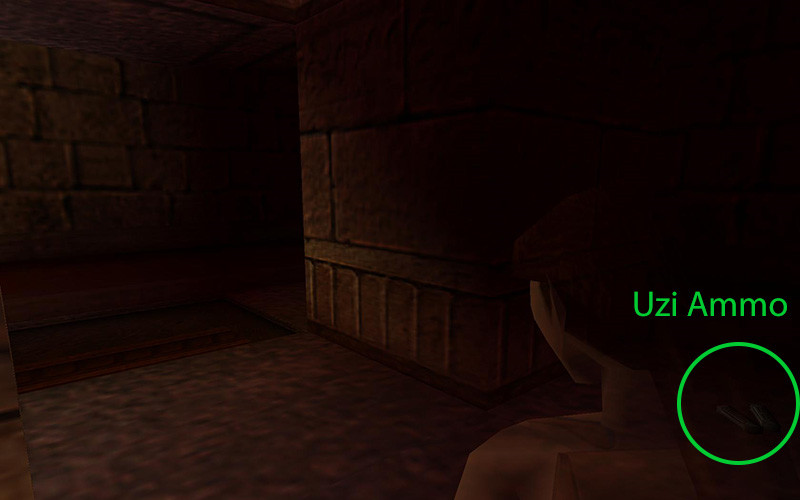
Time to safely drop to the ground and head west to the pit. A cutscene reintroducing those henchmen will reveal some bad news, but you're so far ahead that you won't encounter them for a while. As you approach the pit, you will see it is very, very deep. Save, then take a running leap across the left side and grab the other ledge. You will likely notice two exits from the next room, a crawlspace on the far side and a door to your right. We don't have the key for the crawlspace path, yet, so enter the door and grab the Small Medipack and Uzi Ammo from the left side of the room. Just continue down the path and slide into Sacred Lake.
Continue to the Sacred Lake