
Tomb Raider 4: The Last Revelation
Level 8 Revisted: "The Great Hypostyle Hall" 2nd Visit Walkthrough
This walkthrough is for the second visit to The Great Hypostyle Hall obtaining the Hypostyle Key from the Temple of Karnak. If you are looking for the 1st visit to this area, check out to Part 1 of the "The Great Hypostyle Hall".
Available Secrets: 0
Items Found: Flares (2), Large Medipack (1), Shotgun Normal Ammo (2), Shotgun Wideshot Ammo (1), Small Medipack (1), Sun Disk, Uzi Ammo (4)
Weapons Found: Uzi
Enemies: Assassin
Remember: If you can't make out the images in the Walkthrough, click on them to open a larger one. Also, hover over, or click, on coloured words for helpful images.
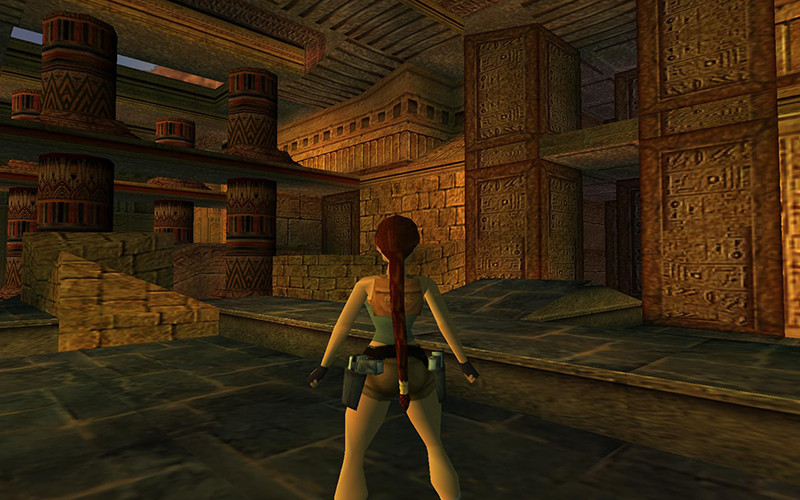
As you drop back down into the Great Hypostyle Hall after your 2nd visit to the Temple of Karnak, get ready to encounter a new human enemy. If you thought the henchmen were annoying, these Assassins will be even worse. Normally they will stick with their swords or daggers, attacking in close quarters, but they also carry an Uzi (but those are rarely used). If they start deflecting bullets, turn away then turn back. Expect a bit of a learning curve, especially when dealing with more than one.
Anyway, climb out of the all-to-familiar pit, and head to outside where your first Assassin will attack you from your left. Show him how you treat men who play with sharp objects, pick up the Uzi Ammo he dropped, then enter inside (north if you forgot). Another Assassin will jump out of the columns to your right, so step back and fire. It's best to drop down below the entrance step, then jump up and fire to take him out – do a few backflips while firing if he charges you.
Save here, then continue forward, but be careful, 2 Assassins will attack as you head right. You have four options: heavier weaponry, snipe them from above, avoid them completely, or the leap of faith. Heavier weaponry just means to use a Shotgun or Uzi, which is a bit wasteful this early on, but it will be the most common route. To snipe them, get their attention, then retreat the higher ground we used the first time we came through here and shoot them from above. To avoid them completely, retrace your steps from the 1st visit instead of going right and they won't even appear. Lastly, the leap of faith is done by ignoring the guy who jumps out in front of you, follow the left wall, leap to the other side and grab the other ledge (apparently they aren't brave enough to follow you). Regardless the path you choose, you will need to cross that pit again.
 Once over the large pit, enter the crawlspace at the far north-east corner this time. Make your way through broken passage, then use they Hypostyle Key on the keyhole next to the door. Welcome to the Great Hypostyle Hall! Once you enter, 2 more Assassins will attack. One will charge, the other will begin shooting you. Ignore the sword-wielding one and run to the Assassin shooting at you, firing as you go so he switches to melee. This area is large enough to do some fancy pistol shooting mixed with acrobatics, so take your time and deal with them carefully.
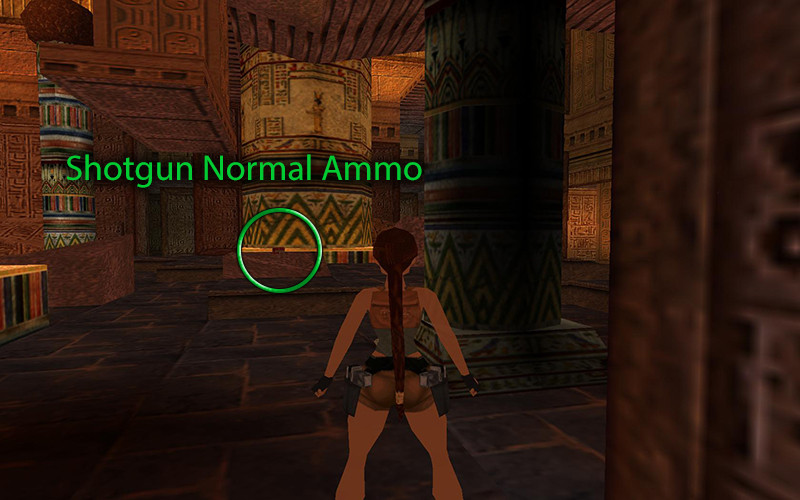
Once safe, pick up the Uzi that shooting Assassins dropped. There may or may not be a Small Medipack in the middle of the room, since Assassin can pick up items (just when you thought they were annoying enough). Head into the next room via the right path to see some Shotgun Normal Ammo on a rock. It's a trap! When you approach, a Assassin will attack from the right. Take him out with a few acrobatic pistol manoeuvres, then grab your loot.
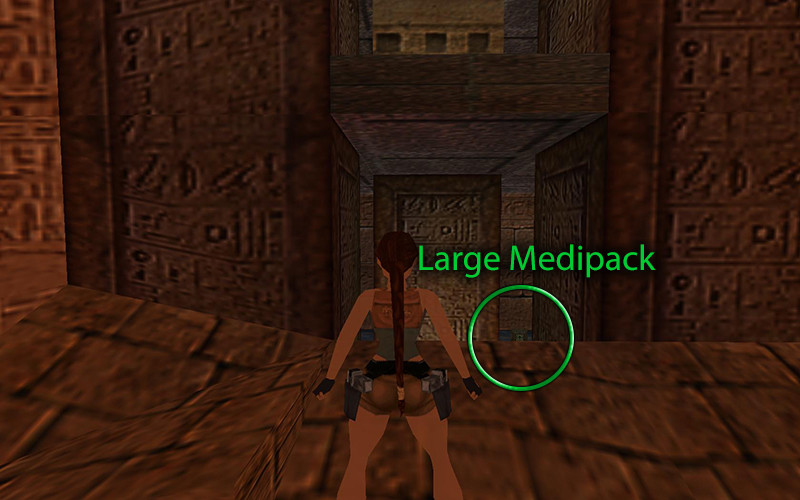
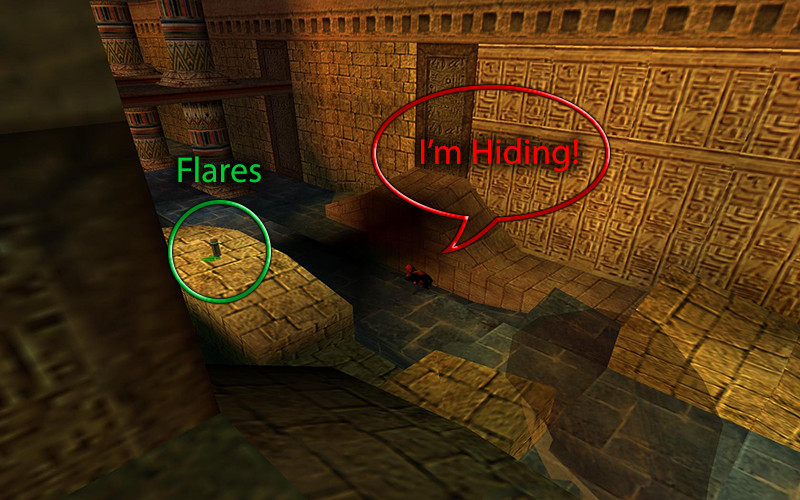
Now head southwest, near where the shotgun ammo was, and leap the crumbled rocks and grab a Large Medipack in the dead-end room beyond it. As you leave this small room, climb the rocks, turn around, and climb to the ledge above. Head though and you should be able to see a Assassin and Flares down below. Ignore them for now, jump up and use the grips on the ceiling to traverse to the right platform where the switch is. Before you pull that switch, turn around and take out the Assassin climbing toward you, as well as the one on the ground. When safe, pull the switch, drop down and grab the Flares, and go north back to the previous room.
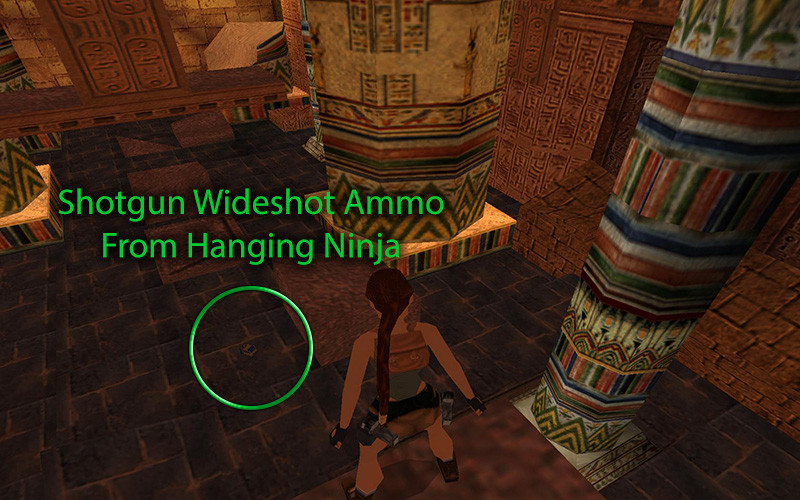
For the sake of simplicity climb back on the ledge above the small room as we did just a moment ago (the southwest one). This time, instead of going through, turn around, jump up, and grab the ceiling rails. As you go forward take a the left and cross the trap door we just closed. That a warning sound should alert you to the Assassin that spawned behind you, so flip around and take him out while he's climbing. He will drop a box of Shotgun Wideshot Ammo, but ignore it for now since we'll be back for it later.
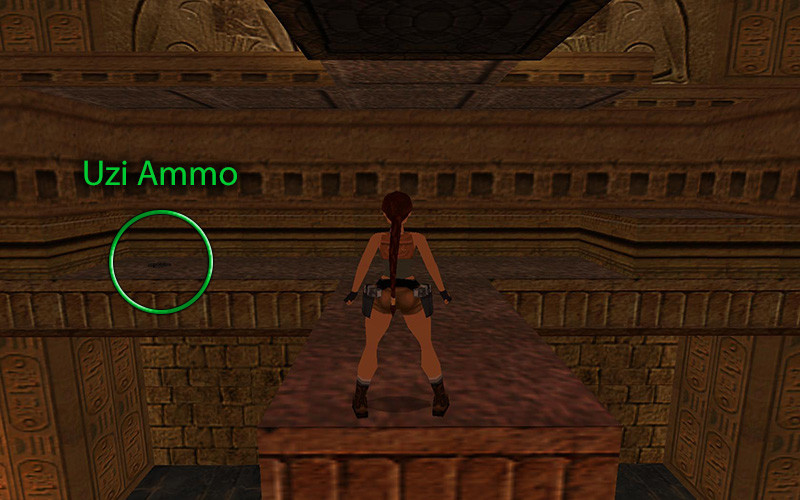
Turn back around, grab the Uzi Ammo, then head right and climb up to the next level of platforms. Either run or leap to the middle area where the camera will lock in a side-scrolling perspective. Keep heading forward and you will see a brown boulder on a pedestal. Shoot it to make it fall, then return the way you came and safely drop back down to the main level. Don't forget the Shotgun Wideshot Ammo that was left from the Assassin we killed just a few moments ago, and head to the new hole we just created.
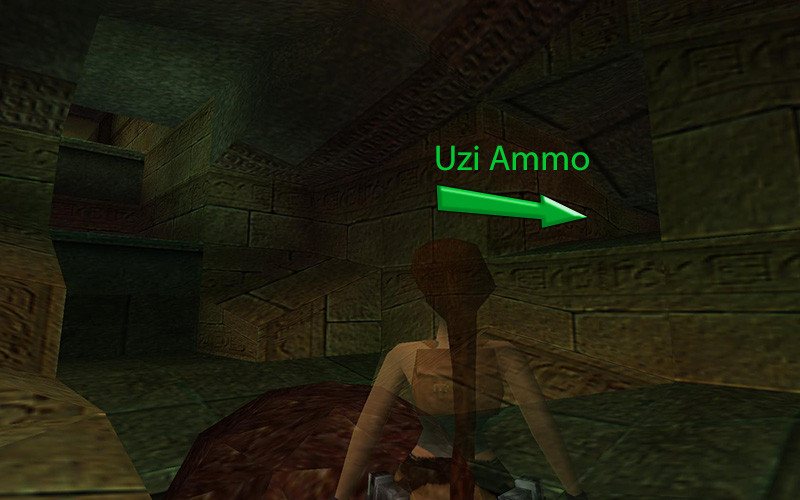
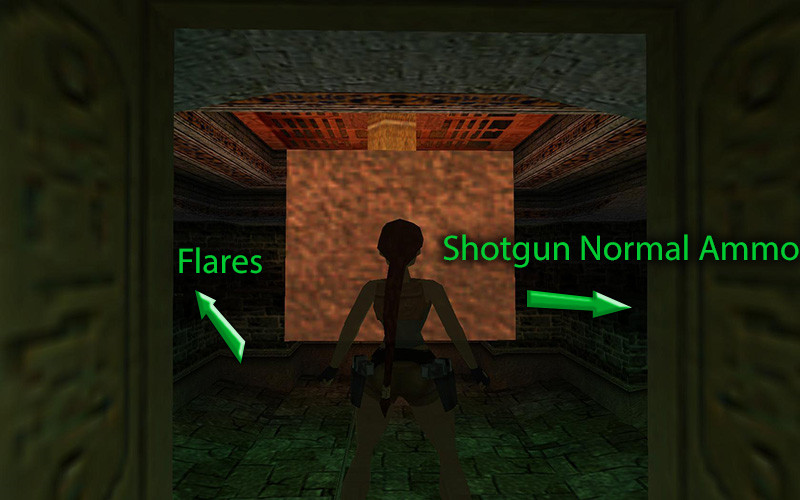
First, crawl into the opening on the east side to grab more Uzi Ammo, then climb the large steps to the north of the boulder. Enter either door to your left to be find the glowing pyramid. Keep heading west and jump into a room with a giant compass needle. There are Flares on the left ledge, and Shotgun Normal Shells on the right. Head back to the pyramid and plunder the Uzi Ammo resting on the far left platform has in the north needle room, then return to the pyramid once more. The south room has no items, and the chain is stuck, so exit the doors and take a left. This passage will end with a ladder heading up, so jump up and climb up to the room above.
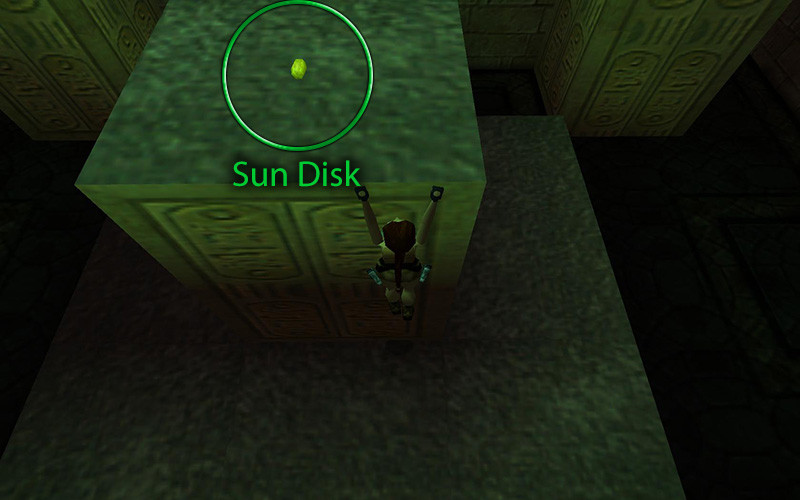
The goal here is simple. There are 3 gears, one for each needle room below. All you need to do is manoeuvre each gear so the red sides of the needles all point toward the pyramid. You should be able to see the needle through the floor grates. ACTION will spin the gear continuously until you release it. Once complete, use the ladder to return to the pyramid and pull that chain! Grab the Sun Disk from the pedestal in the middle and head back to the Sacred Lake. Wait, you don't have to walk all the way back, a shortcut just opened up on the west side of the room. How handy! Just enter and follow it to the next level.
Return to the Sacred Lake