
Tomb Raider 4: The Last Revelation
Level 11: "Guardian of Semerkhet" Walkthrough
Available Secrets: 3
Items Found: Crossbow Explosive Ammo (1), Crossbow Normal Ammo (1), Golden Vraeus, Guardian Key, Large Medipack (3), Shotgun Normal Ammo (4), Shotgun Wideshot Ammo (1), Small Medipack (4), Uzi Ammo (2)
Weapons Found: None
Enemies: Bats, Guardian Bull, Scarabs
Remember: If you can't make out the images in the Walkthrough, click on them to open a larger one. Also, hover over, or click, on coloured words for helpful images.
This stage we meet the Semerkhet's Guardian, but why is it a bull? That goes back to Apis, the bull-deity, who served as an intermediary between humans and gods. A living guardian bull likely indicates that Semerkhet did indeed transcend his human form and became a god, or god-like, in the afterlife. Of course, we did just play Senet with Semekhet, so his transcendence should be obvious by now.
Compared to the monstrous size of the previous level, this one is going to feel rather short. After the introductory video (watch it here if you missed it), drop down into the hole. If you didn't go through that dangerous sixth secret in the Tomb of Semerkhet, this will be your first encounter with the spinning blade trap. To get past it, walk up to it until you are a step away, then press flip when the blades open to dive through the other side. Just turn around normally, without a flip, to continue down the corridor. Around the corner is a second spinning blade trap; just repeat your roll.
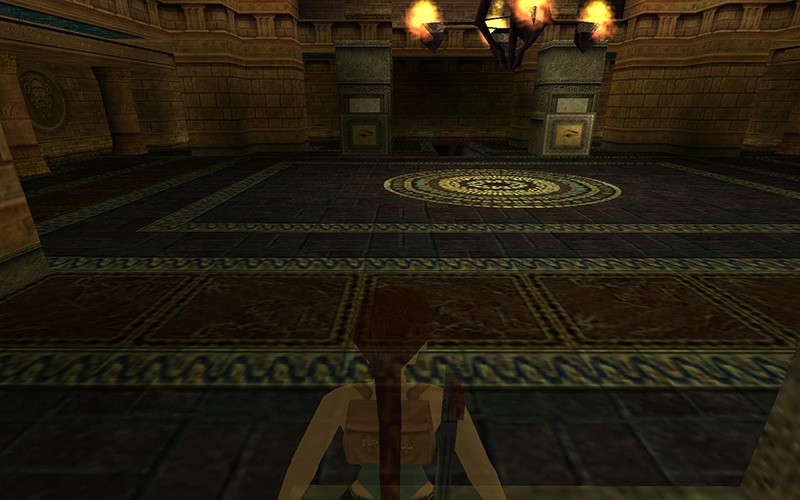
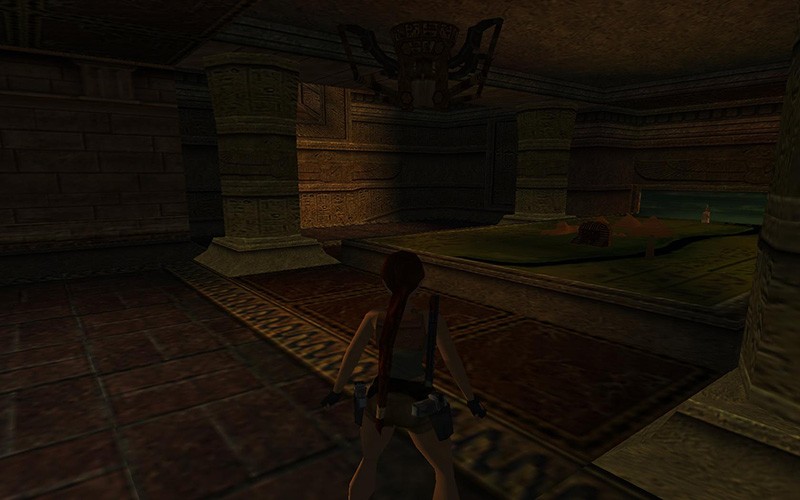 You will soon drop down into the map room. For the other path in this room you will need some items, so climb up to the left and crawl into the small passage to your right. This next leg of the journey is dangerous, so save here. You will notice a massive wheel next to you – this opens the door on the other side of the room. There is a catch though – the door will start closing as soon as you stop and dangerous spike traps will pop out of everywhere when you try to reach it. If you fall to the ground, each shallow pit also has traps, so avoid them. (You can return to the wheel via the northern corridor and climbing the ladder up if you do fall.)
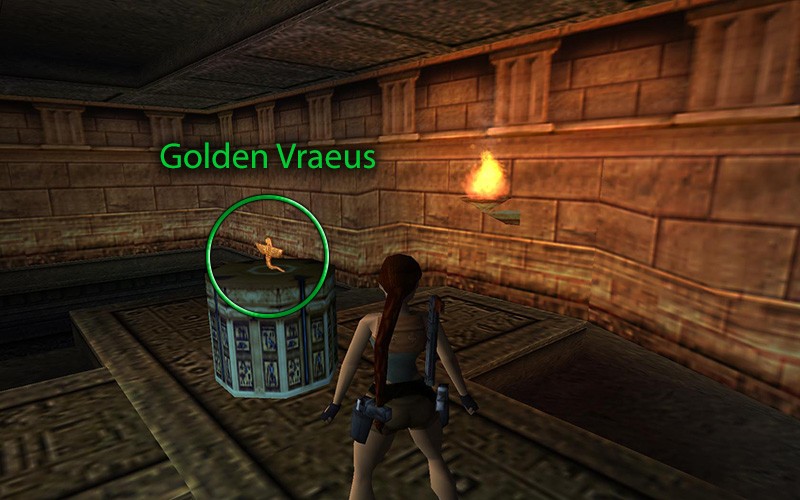
After five uses of the wheel, dash to the door and crawl under it to make it through. One more trap is on the other side of the door, so once you crawl through, jump over the next block, then jump over the next platform. The Golden Vraeus on the pedestal is also trapped, so walk to where the torch is and grab it from there. Drop down to the lower level, avoid the trapped shallow pits, take the northern corridor, climb up, return to the wheel, then head back to the map room.
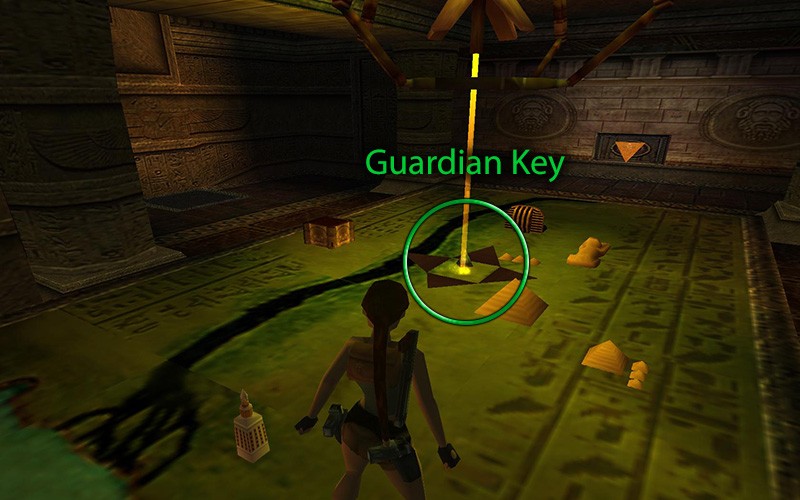
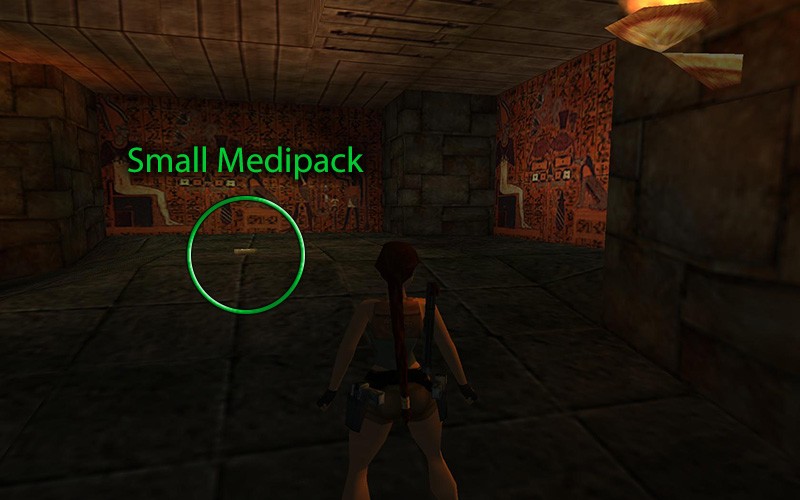
Use the Golden Vraeus on the south receptacle and an ancient machine will open a miniature pyramid. Take the Guardian Key from the map and use it on the eastern receptacle. Drop into the hole, then take a right once in the Guardian's Hallway. Hear something trying to get at you? That's the Guardian. He'll make an entrance soon, but before we encounter the beast, grab the Small Medipack from the bend. Don't go left toward the switch, yet!
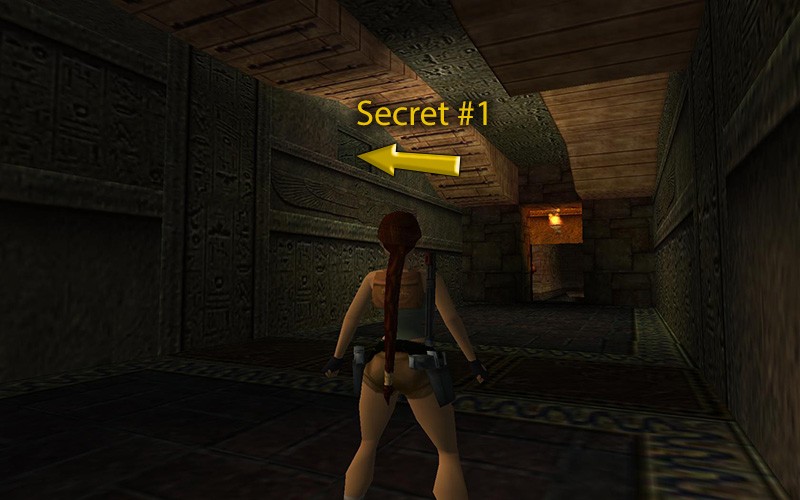
There are railings on the ceiling – jump up and grab them. Climb all the way to the other side. 2 Bats will attack mid-way, but ignore them for now and drop and grab hold of the edge of the far crawlspace and pull yourself up. Feel free to dispose of those things flying around your head at this point, then crawl onwards into Secret #1 (38 of 70).
Yay, more fire. Drop down into the center of the room and snag the Shotgun Normal Ammo and Crossbow Explosive Ammo from the 2 tables. Now the fun part. First, find the niche where the fire isn't constant (the west one) and grab the Shotgun Wideshot Ammo when it goes out. Make sure to jump back like previous flaming niches. Reach into this one again to modify the eastern niche. Do the same to this niche to get Uzi Ammo and deactivate the southern niche. This one contains a Large Medipack. Scarabs will be released if the last niche is used, so ignore it and climb back up to the Guardian's Hallway.
As you approach the door with the lever the Guardian Bull will charge out. (Older versions of the game required you to pull the lever, but it was changed for a more dramatic effect.) This will also release some Bats. Don't waste ammo on the Guardian – it's another enemy that cannot be harmed.
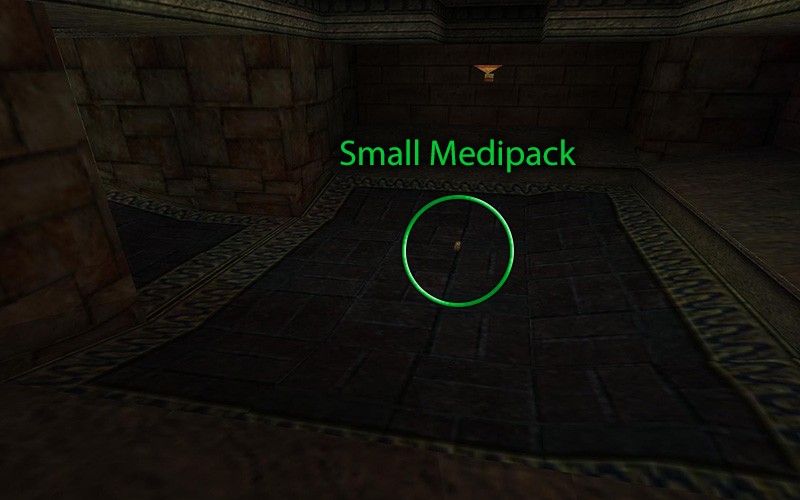
Before we continue upward, let's get a secret. Ignore the Bats and dodge the guardian with side flips, run through that door he charged out of and jump to the low platform to your right. You're safe from the Guardian Bull here – until he figures out to follow the wall, so take care of any Bats flying around you. The fire behind you will be needed later, so remember its location and flee down the winding corridor to the end. Once you reach the room with the Small Medipack in the middle, you've reached another safe zone. The bull can't attack you on the ledges on the side so jump up and deal with whatever Bats are around you again. If you want that Medipack I would recommend saving before attempting it as that bull will charge at you if you try to grab it.
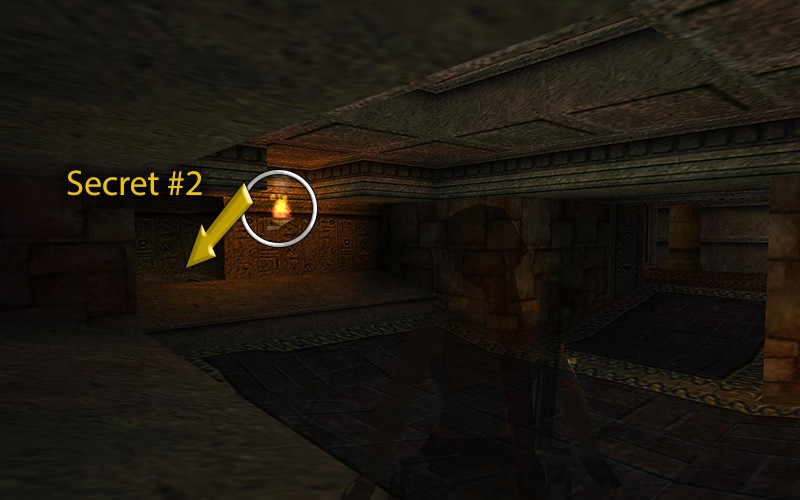
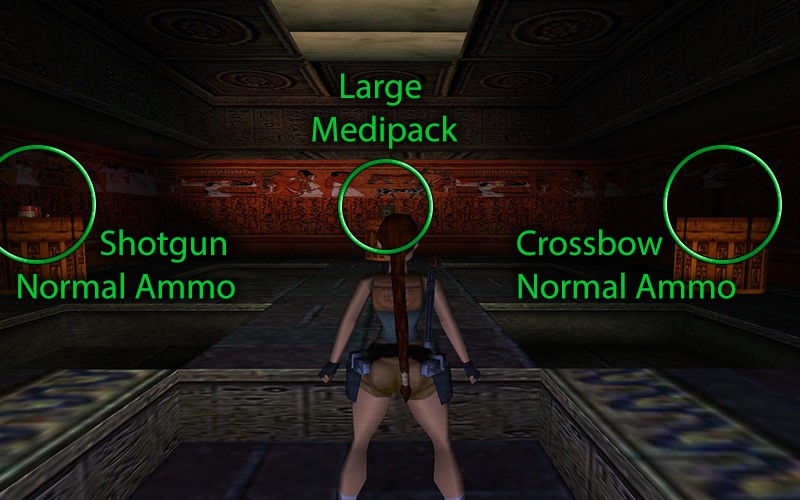
Reach into the niche on the north side for a Torch, then run all the way back to the fire to light it. Now run all the way back to where we got the Torch and light the two sconces. A door will open up to Secret #2 (39 of 70). You can toss the torch since it is useless now. After zig-zagging through the narrow corridor, a Large Medipack, Crossbow Normal Ammo, and Shotgun Normal Ammo will await you on trapped pedestals. Pick each one up on an angle to avoid the trap. Also, beware the spike trap in the middle of the room. Once done, head all the way back to where we released the guardian, past where we originally dropped down and to the door at the far end of the hallway.
 We need the Guardian Bull to break that door, so reach down and awaken your inner Torero, stand in front of the door and jump to the side as it charges you. Storm down that corridor and jump out of its path as you enter the next room. We need to play Torero a little longer and make that bull break the 3 eye stones on the wall. There is no safe zone in this area, so be careful.
After all 3 are broken, dash into the door to the right of the eye, turn around to your right and climb up to the upper level. Take the left path and head up to the stash of items. There is a spike ball that will drop from the middle, so cautiously grab the Small Medipack, Uzi Ammo and Shotgun Normal Ammo.
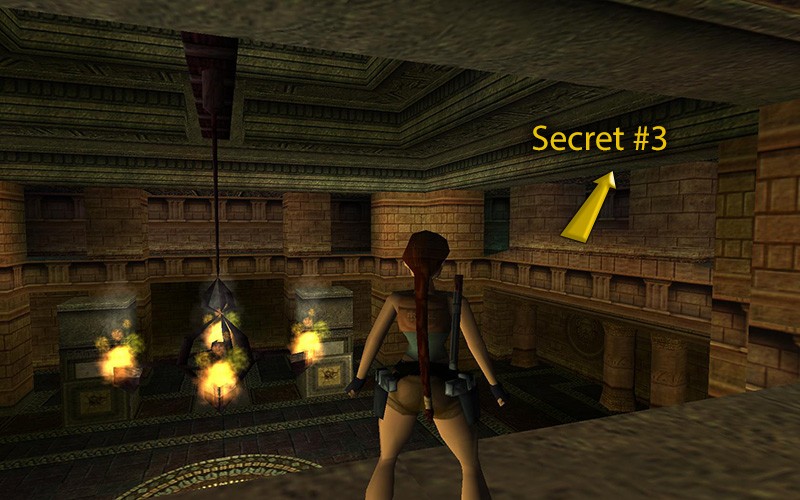
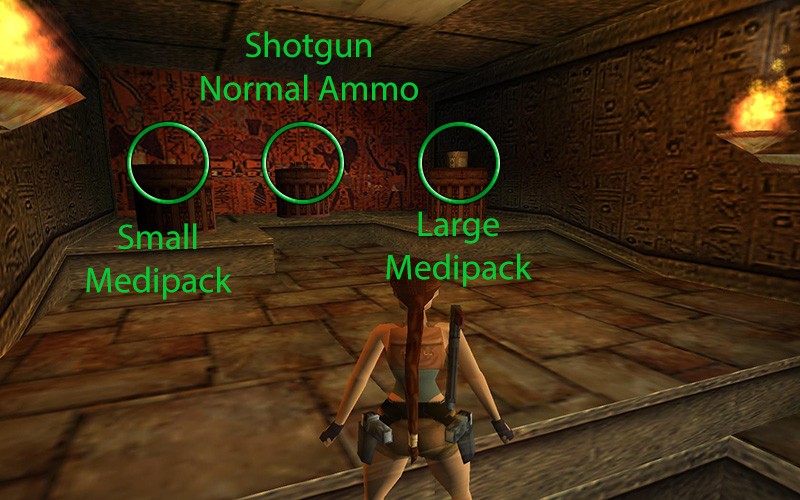
For Secret #3 (40 of 70), head back to the last room, stay on the upper level and go around to the other side. There is a hole in the ceiling that will lead to another hidden stash. Beware the spike ball that will drop from the center again. A Small Medipack, Large Medipack and Shotgun Normal Ammo sit upon the pedestals, but there is a catch - you can only pick one item as the other two will burst into flames, so choose wisely. If you choose the Shotgun Normal Ammo (which seems like the logical choice given the limited ammo in the game), a second spike ball will drop above the exit, requiring you to crawl out.
Return to the lower level where the Guardian is angrily thrashing about and run through the left door and climb out to the end of the level.
Continue to the Desert Railroad