
Tomb Raider 4: The Last Revelation
Level 6: "KV5" Walkthrough
Available Secrets: 4
Items Found: Crossbow Normal Ammo (1), Grenadegun Normal Ammo (1), Large Medipack (6), Shotgun Normal Ammo (1), Shotgun Wideshot Ammo (2), Small Medipack (1), Uzi Clips (1)
Weapons Found: None
Enemies: Henchman
Remember: If you can't make out the images in the Walkthrough, click on them to open a larger one. Also, hover over, or click, on coloured words for helpful images.
KV5 is the rock-cut tomb of the sons of Ramesses II in The Valley of the Kings. This is the largest of all the tombs found in the valley.
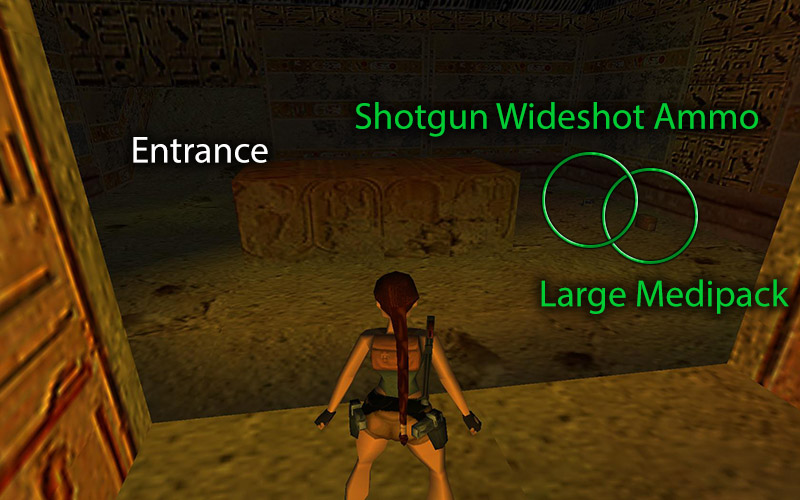
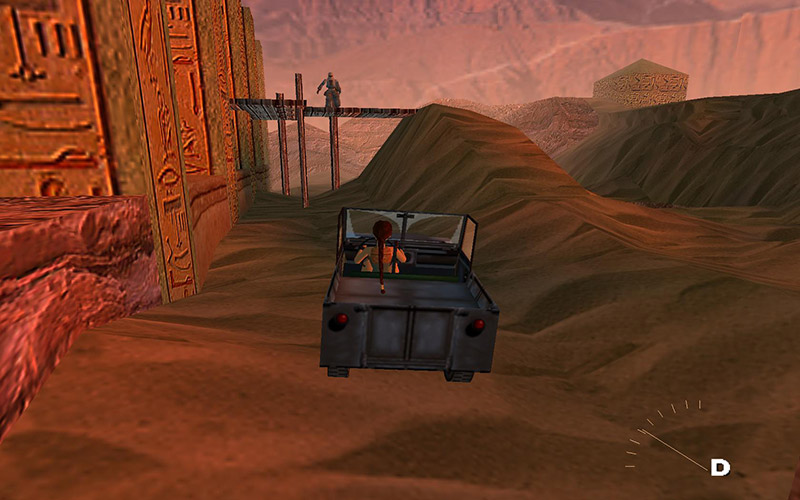 That's right, yet another driving level. Drive up to your guide who will drive off and leave a few more armed grenades behind him, but don't give chase yet. Get out and collect the items near the entrance. You should find a Large Medipack and a Box of Shotgun Wideshot Ammo. Now back in that jeep so we can do some more unsafe driving!
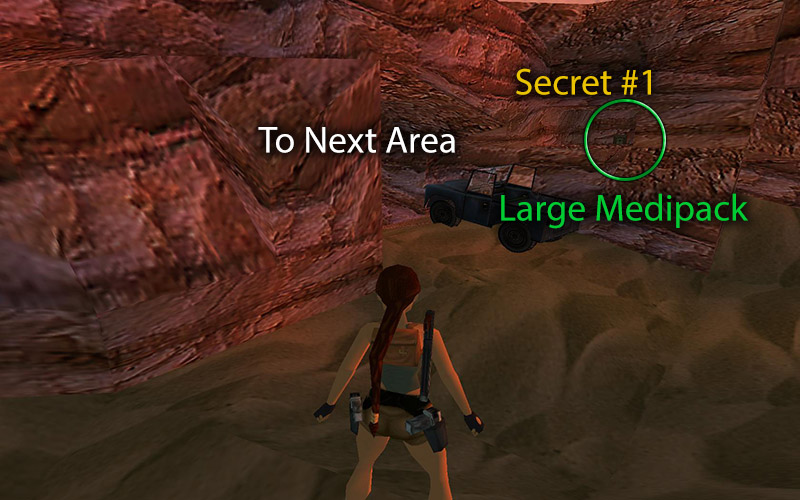
Keep straight past the statues and you will come to an area with a henchman shooting at you from a wooden platform. There are two ways to kill him, and you will take damage either way. The easiest method is to drive up the sand dune and nail him in mid air as the platform collapses. You can also drive underneath him and cause the platform to collapse then turn around to kill him, which could cost you even more health. Once he's gone, drive toward the exit of this area, but be careful of the pit. Don't head into the next area yet, though, we have a secret to raid.
Climb the ledge just to the right of the tunnel and crawl inside for Secret #1 (22 of 70) and a Large Medipack. Head back and into your vehicle of death! Once you enter the next area, turn left between the buildings, and stick to the left hand side knocking out all the supports, then circle around and run the annoying henchman over. With him gone, and the gate closed, it's time to spend some time on foot for a bit. Don't forget where you parked, we will be back.
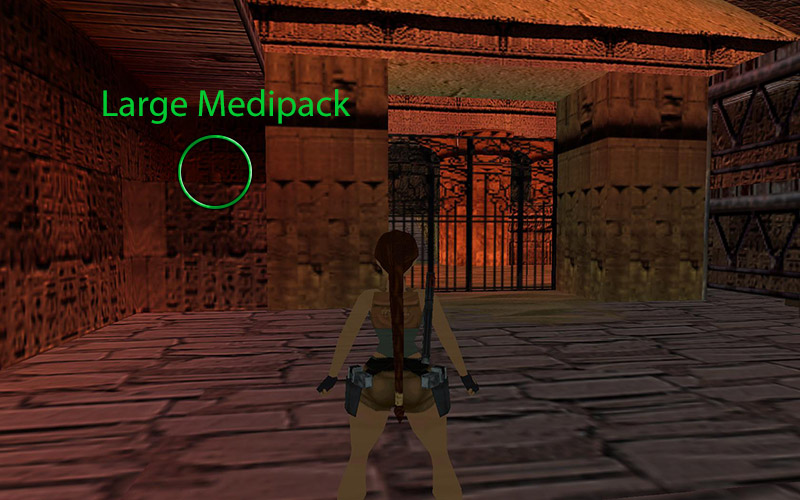
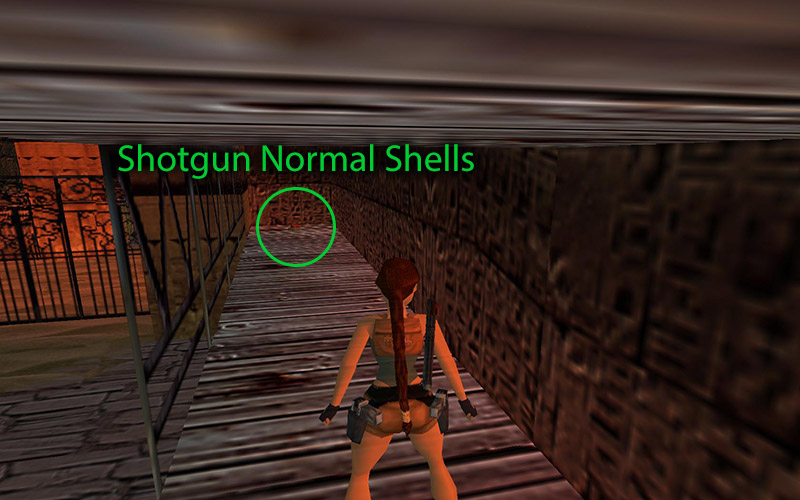
Now, where to begin... Let's first start with the easy stuff. There is a small alcove just left of the gate, jump up there and grab the Large Medipack. Next go to the other side, follow the scaffolding on the right side of the gate and jump up through the opening in the middle. There is a box of Shotgun Normal Shells near the gate. With those two picked up, the next is a secret on the same scaffold you are on.
There are two ways to get to Secret #2 (23 of 70) - one will spawn another henchman, whom you will need to gun down, wasting either ammo and/or health, and the other will take a few extra seconds of your time. The way of violence is rewarded from the easy path which simply requires you to follow the scaffold away from the gate, then take a left and head over the box which will give you the henchman. The way of patience is to head back down off the scaffolding through the opening in the middle, run on the ground to the corner, then pull yourself up through the single crossbeam opening and over the box. Both paths are the same after this. Once across the box, head down in the hole, then back toward the gate to pick up your loot. You should find a Small and a Large Medipack.
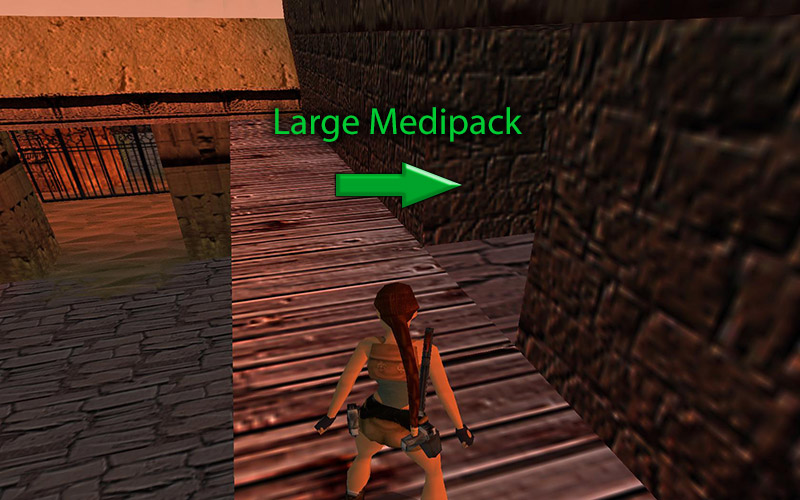
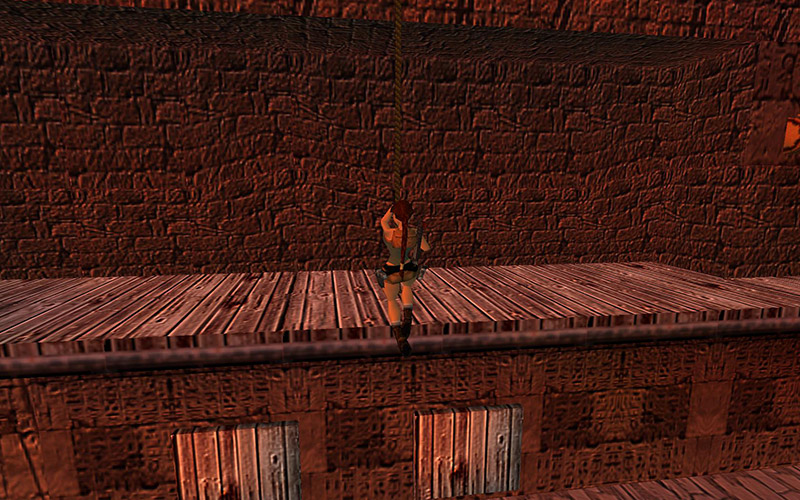 Okay, with that taken care of, head all the way back out of the secret and back to the corner with the single crossbeam. (See Secret #2 for the location.) From here you can climb up to the next level. There is an alcove in the wall with a Large Medipack. Save here in case you mess up; you won't die, but it will save time. While still in the alcove, turn around so you're facing the next building. It may be difficult to see it, but there is a rope between the buildings. Do a running jump to the rope, then swing to the other side. You do remember how to use ropes, right?
Rope directions (in case you forgot):
Hold ACTION to hold on to rope, press SPRINT to swing forward, UP & DOWN change elevation on rope, LEFT & RIGHT to change direction, JUMP to get off rope.
Once you made it across, you can see the lever to open the gate on your right, only it's a tad high... No, there's no secret block you need to push to reach it, (what do you think this is, Tomb Raider 1?) just jump up and hold the ACTION button to grab ahold of that bad boy to open the gate. And that's it, just drop to the ground safely and enter the gate on foot. Don't worry about the jeep, we'll get it in a second.
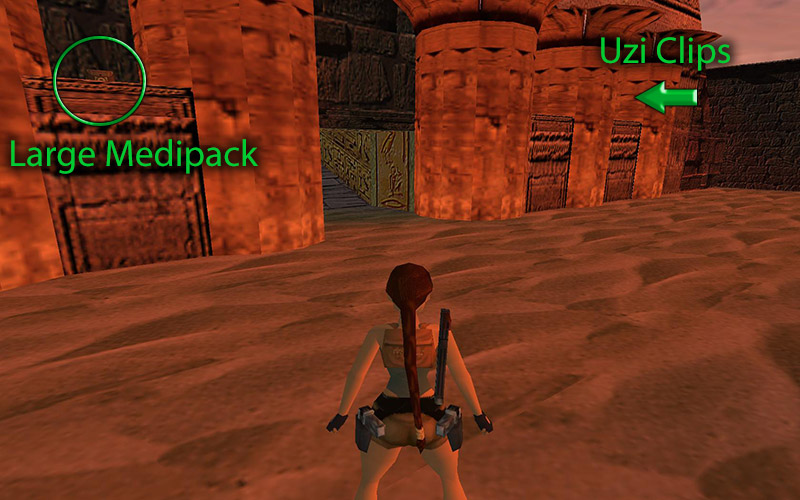
Facing the tunnel, you will see alcoves on each side entrance. The closest one on the left will give you a Large Medipack, and the second on to the right of it will reward you with more Uzi Clips. If you are having problems getting up there, you need to jump up in the very middle of the alcove. Now, let's get our ride and get out of here!
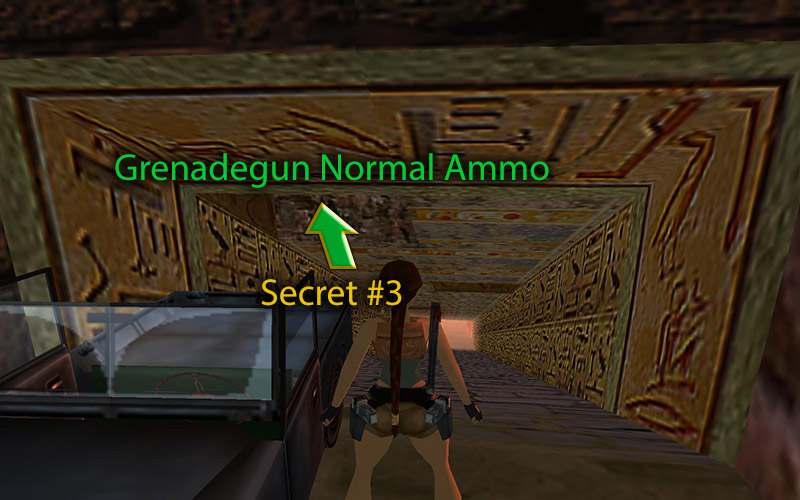
Better stick to the left side as you drive up, though; 3 spike balls will fall down, the first to the right, then left, then right again. Just change sides as you pass by one of them. Once yet get to the top, STOP the jeep and get out. We have another secret to plunder! Secret #3 (24 of 70) can be tricky to get to if Lara isn't positioned perfectly. Walk down the path you just travelled so you're under the last hole the spikes came from, then step right on the seam where the texture changes. (See this screenshot for help) I find it easiest to get there by angling Lara slightly then strafing sideways to get to the seam. Now jump up to the ledge and grab the Grenadegun Normal Ammo.
Safely drop back down and back into your vehicle, for a few seconds anyway. Slowly drive down and around the corner. Stick to your left to avoid the spike pit, then make your way between the next pits. Get out of the jeep again once on the other side. It's a good thing this isn't a race, huh?
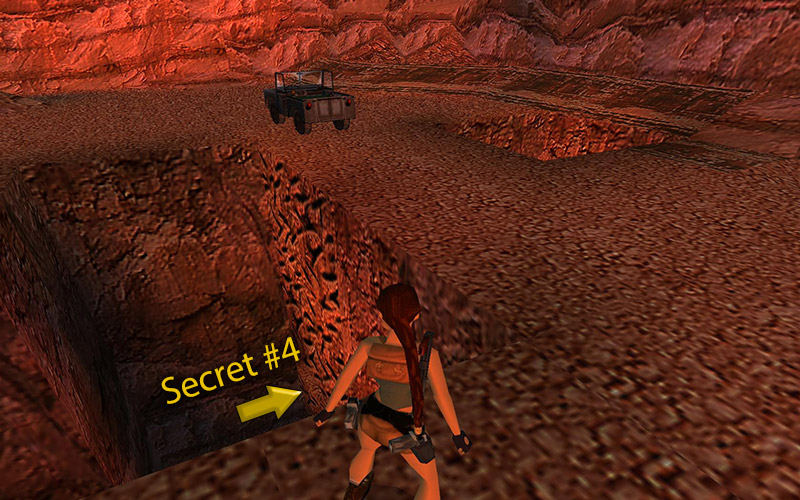
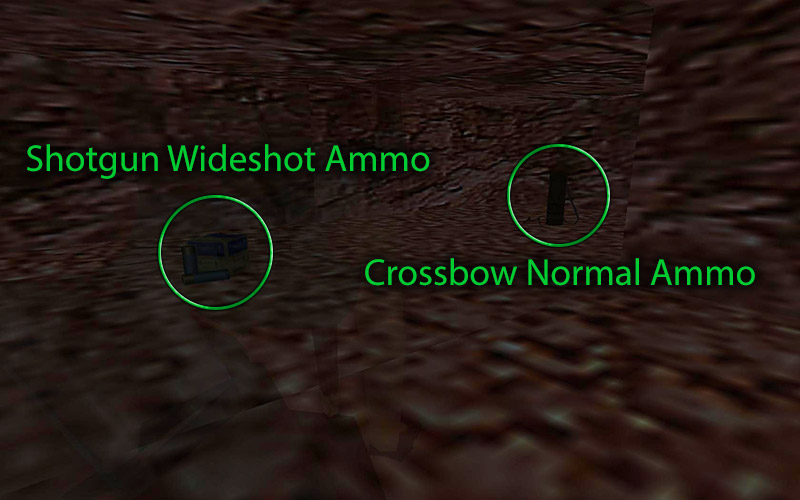
Secret #4 (25 of 70) is very easily missed if you didn't notice the climbable rock wall as you drove by. You may want to save first, then climb down the wall, and enter the alcove. You will need to quickly release, then press and hold the ACTION key, followed by UP and CRAWL to get in. 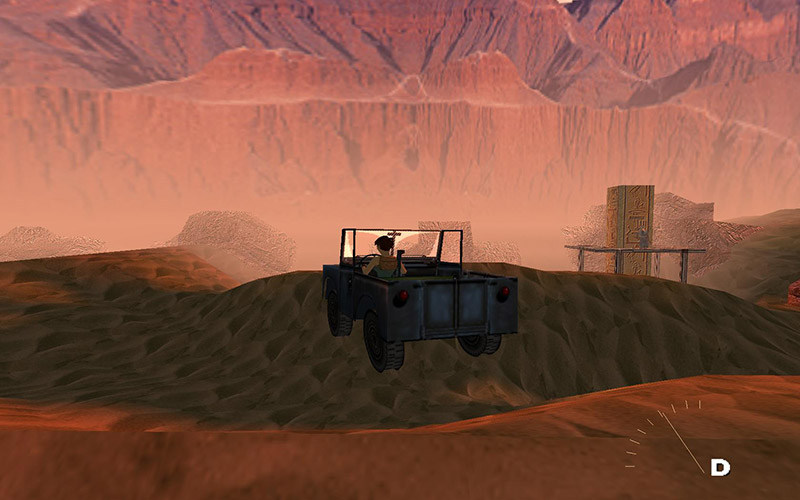 Inside you will find some Shotgun Wideshot Ammo and a quiver of Crossbow Normal Ammo. Yay, more ammo you can't use yet. Make your way back to the jeep without impaling yourself on the spikes.
Now continue left and keep following the path, dodging the spike pits along the way. Once you get to the sand dunes, continue straight over them until you have no choice but to take a left. There's still more spike traps, to take it easy. You will soon see a building to the far right with another henchman on top. You can avoid him by taking another left, but if you feel violent, circle the building to knock all the supports out then run the guy over. Once done, continue South (red arrow on compass) and enter the exit cave to your right for an ending cinematic. (Watch it here if you missed it.)
Continue to the Temple of Karnak