OUR GAME GUIDES
Legend of GrimrockMurder in the AlpsThe Legend of Heroes: Trails in the SkyWizardry 6: Bane of the Cosmic ForgeWizardry 7: Crusaders of the Dark SavantWizardry 8Rune Factory: FrontierRune Factory: Tides of Destiny

Murder in the Alps:
"Gray Nature" Walkthrough
Use the compass icon on the right to open the navigation menu.
For each investigation, hover over or tap the items below the scene to reveal their location.
The Final Experiment of Dr. Brüner
After devastating Europe, the polio pandemic spurred a race to create a vaccine. "Gray Nature" begins shortly before the vaccine's discovery.
Sven arrives in Anna's office to inform her that someone spotted smugglers in the residential district and assigns her to investigate. Anna quickly leaves Eure Tages and jumps into her car to drive to Trittligasse in the Residential District.
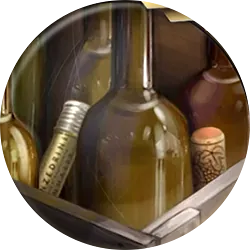
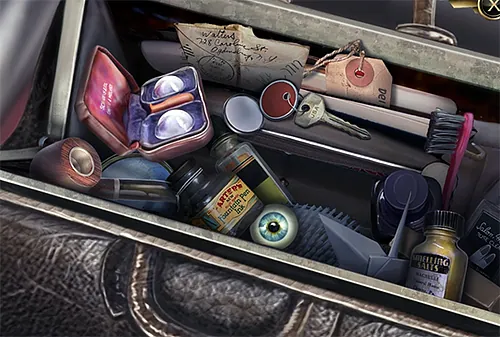
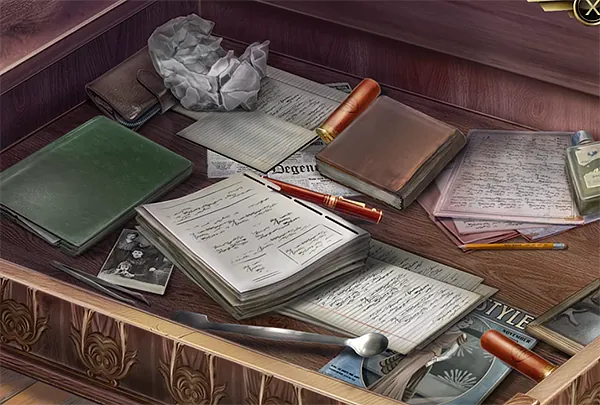
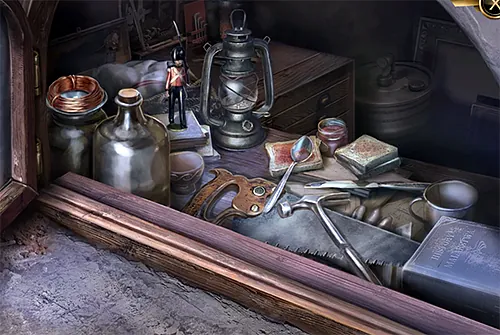
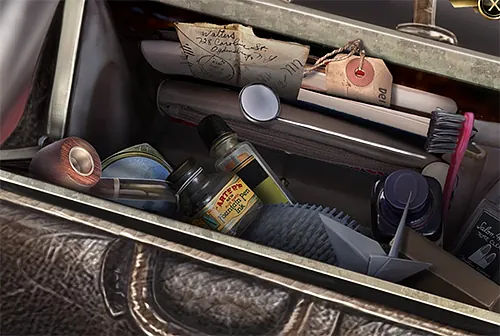
Upon arrival, Anna spots Noah, checking the large truck full of Alcohol. I guess the smugglers were making use of the recently vacant home. Noah appears friendlier this time and even poses for a couple of photos. A couple of crates are missing, too. Help search the backyard for clues.
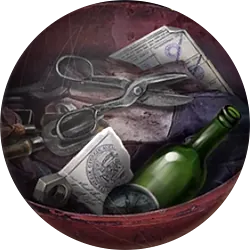
Collectables available: Gem, Gordian and Tranquillina, Gordian III and Tranquillina, Lucilla, Plaquette, Ring
Backyard

Benzedrine is a lot more exciting than alcohol smuggling. Hand it to Noah, snap an extra photo, then leave the backyard to bump into Ernestine to learn about a death at the hospital. Anna's schedule is getting filled suddenly.
Get in the car to return to the office. Take a seat, write the article, attach a photo, and return it to Sven for him to critique.
Re-enter Anna's office, use the phone to call Ulli, and then jump back into the car to go to the hospital. Enter to encounter the nurse, who directs Anna into the Lab.
Collectables available: Cameo, Maximinus I, Roman Ring
After the conversation with Ulli and the doctor, take a look around.
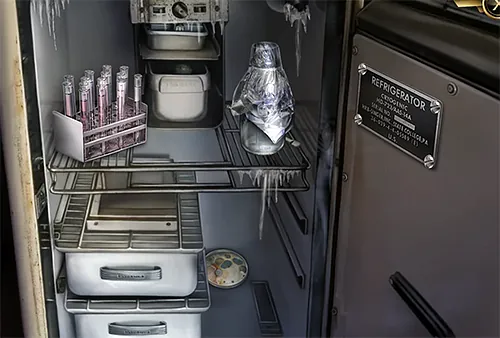
Hospital Lab


Pass the theatre prop to Ralf, who states they use it as a morbid door stop to prevent getting sealed inside. Ulli has a note they found on the body. Take it from him to read the cryptic message.
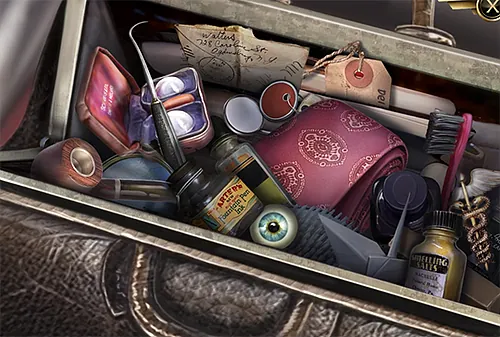
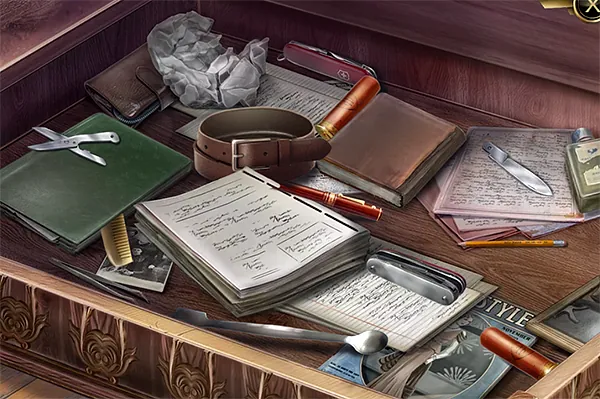
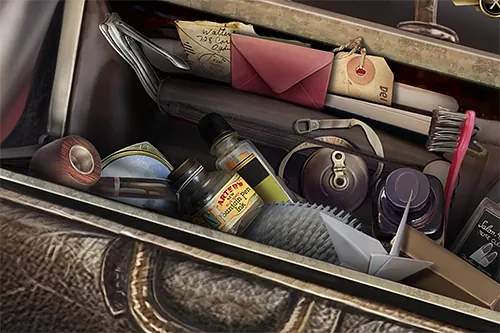
Give Doctor Brüner a quick look, checking the pocket, then the almost pulled-out box behind him. Pass the lockbox to Ulli, then follow Ralf out of the lab and into the Doctor's Office. Check the desk on the left side and flip through the pages in the folder, then the coffee cup.
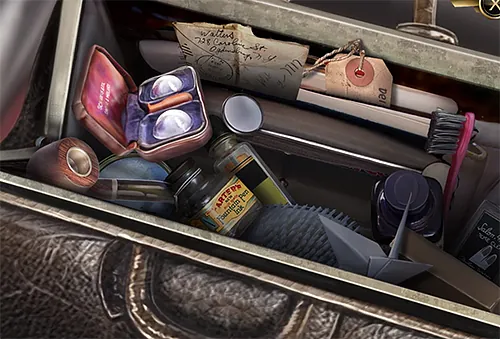
Collectable available: Terracotta Figure
After pushing the deceased's former colleague out the door, do a more thorough investigation of the area.
Doctor's Office


Leave the Doctor's office to learn the other Doctor is with patients. Check Reception for a mask before going upstairs.
Hospital Front Desk


When Anna holds up her pocket mirror, place the mask on her reflection and continue into the corridor. Once upstairs, check the left side to enter the ward, where the doctor is struggling with a patient. Check the nearby table for leg braces.
Collectables available: Figure, Septimius Severus
Hospital Ward


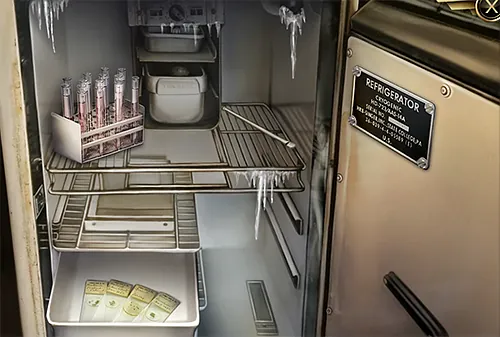
Place the leg braces on the bed, then activate the leather straps near the patient's legs to hold them in place. Return to the hospital's front desk and speak to Ernestine to learn the adrenaline is in the doctor's office. Follow the nurse inside and search for a syringe near the cupboard.
Doctor's Office


Run back to the Ward and pass the doctor the syringe. Once the doctor has stabilized the patient, give the blueprint to Dr. Sachs. As Anna leaves, the nurse runs over to invite Anna over in the evening.
Puzzling Clues
Leave the hospital, enter the car, and drive to the police station. Walk into the building and visit Ulli in his office. He is ready to conclude the case, but Anna wants to speak to Dierk first.
Collectable available: Sealstone
Leave the office and go to the lab downstairs, then check the area to get the key to access the lockbox they found earlier.
Police Lab


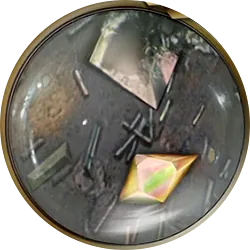
Use the key to open the cabinet on the left side, grab the lockbox out, and then solve the puzzle lock. Turn the dials to change the pin's path to pass through the tumblers and locking ring. Turn the wheel on the top right to move the pin.
Click for a path that will allow the pin to move through.

With an empty lockbox, the only possible clue is the note's lack of prints. Check the lab for the pen so Dierk can check it, too.
Police Lab


The pen has blue ink. Give it to Ulli to persuade him to keep the investigation alive. Anna needs to visit her friend, so leave Ulli and Dierk to check the note for more clues. Return to Anna's car and drive to Trittligasse, just outside Ernestine's home.
Enter the nurse's home, where our host offers tea, but Anna decides we need to do more work. Examine the table, pour water from the teapot, dip the tea strainer into the cup, add a handful of sugar, then mix with the spoon.
After learning that Dr. Sachs is not the kind doctor everyone thinks he is, Anna decides to snoop through her friend's things instead of letting her get the latest issue of the Science Universe magazine herself.
Ernestine's Home


Finding the magazine and how the doctor portrays himself as the hero raises more questions, but that will wait for the next day.
Precarious Heights
The next day begins with the phone ringing. Please don't be cruel; answer it! Anna leaves Ulli hanging quite cruelly anyway. Rush outside and into Anna's car to learn what the excitement is all about.
For this to be so close to the police station, they should have been there before Anna. After conversing with a gaper, Anna decides to take a photo and rushes to find what the unknown person dropped.
Boulevard

Who would stand on a ledge and toss a torn passport? The whole event feels staged to bolster Michel's reputation, whoever that is.
Return to the car to drive back to the office and get those typewriter keys moving. Drag the passport and choose a photo before bringing it to Sven.
With the article complete, rush back to the car so Anna can drive to the hospital. Carolin threw something away; check the tent area to find out what it was.
Hospital Tent


It looks like a patient is not taking their medication. Enter the hospital, hand the pills to Ernestine, then enter the laboratory on the left side. Noah appears to have fallen into one of the doctor's inventions. Examine the hatch near his head to learn it is stuck. Search the nearby desk for something to pry it open with.
Hospital Lab


Examine the hatch under Noah's head again and use the scalpel to open it. This puzzle is more trial and error than the others. Place the two valve handles on the pipes (blue on the left, red on the right) and attach the gauge below the red one to get things started. Turn the valves so the dial's arrow points upward (close to the red line) as you move the wooden slider on the top to the left (unlock symbol). Move the slider a bit, then adjust the valves to turn the gauges back to the red line when the gauge needle reaches the coloured area before moving the slider again. After a few adjustments, the officer will be free.
The Brüner Conspiracy
Ulli arrives at the perfect time. Search the lockbox area, grab the one in the middle, and tap the top to open it. Once checked, tap the back side of the box to reveal more scratches. Check the other one that is hanging out to find more scratches. It looks like another puzzle we'll need to solve later./p>
Leave the hospital building to find Noah, who appears to be gone. The nurse hasn't seen him outside yet. Return inside and check the Doctor's Office to find the Constable in another embarrassing situation. Pull the skeleton off of him, then pick up the liver, skull and hand off the floor.
Click the location of the three skeleton parts.

The heart is missing, so search the corner for it.
Doctor's Office


Examine the skeleton and place the head, heart, liver, and hand back onto it—just in time for the doctor to return. Push the article into his face, then check his desk. Go straight for his neck—I mean pen—only to find that it also has blue ink. Tap on the documents to reveal that they were written in invisible ink. Also, check the photo for some boring information.
Give the pen to the doctor, then leave the doctor's office, walk down the corridor and enter the ward to meet Carolin and Manu. Carolin's information only increases suspicions about Dr. Sachs. Help her find the crutch so she can flee before anything else happens.
Hospital Ward


Hand the patient the crutch and then return to the hall, where Manu will ask for a favour. Leave the hospital to find the police collecting lockboxes, then jump into Anna's Car to drive to the Central District. Walk down the Boulevard and turn right on Backstreet to search for Manu's package.
Backstreet


Searching for his postcards drags the day into the night. Backtrack to the Police Station and enter to find Noah complaining about the heavy work. Visit the lab in the basement to find out if they have already solved the puzzle — or so they think.
Take the formula, then check the lockboxes to move things around to find another image. Move the boxes around until the white markings line up. The two holes to swap into should make it easier to solve, but it doesn't do much. This one is challenging.
Click for what the box design should look like at the end.

Click for an animated solution to the lock box sliding puzzle.
Can you imagine seeing two men watching little Anna moving those heavy boxes around while they stand and watch? With the second image from the boxes figured out, return to the car and drive to the hospital. Manu will be balancing dangerously as you enter the hospital. Give him the postcards, which get him started on the lock to the Doctor's Office. Follow him inside. While Manu admires himself in the mirror, check the pile of stuff in the corner again.
Doctor's Office


After finding the diagnosis, check the wall that Manu uncovered. Tap on the tiles to find a loose one (right-side), then remove the tiles to discover vaccine research documents Dr. Sachs would not want anyone to see. Anna leaves Manu to clean up the mess on his own.
Unveiling the Truth
The next day begins with Sven sending Anna to check out a car crash on Utoquai. Head outside and get into the car to race to the scene. It looks like everyone is already gone, which means Anna can snoop without anyone complaining. Check out the crashed car.
Utoquai Street Crash


Of course, Noah has to appear from nowhere just as Anna gets her hands on something juicy. You can jump into Anna's car and drive off with the evidence, but sadly, it will not let you continue the story. Give the junior officer the book, then return to Eure Tages and get those typewriter keys clacking.
Once done, bring the article to Sven only to find him singing to the kitty. Hand in the article to Sven, then call Ulli using the phone in Anna's Office. Drive to the hospital when after the call.
Ulli will meet Anna inside. Go into the doctor's office again and search through the pile while Ulli plays with the mirror.
Doctor's Office


Place the carbon paper on the desk before Ulli, then compare them. Flip the bottom of the carbon paper to change to the next layer. Only one of the carbon paper sheets has the correct words on it.
Click for the location of the words.

The completed letter is enough evidence for Ulli. It's time to turn the hospital upside down to find the evil doctor. They decide to split up. Check the lab, where Anna wants to snoop again, as her investigator sense is tingling again.
Hospital Lab

Stash away the Bone Awl, leave the lab, and return to the Doctor's Office to find Ulli, who has already revealed the recent findings to Dr. Sachs. Like most finales, expect to use a half day's worth of energy to finish all the scenes. Provide the doctor with the Full Note from the inventory, then the Bone Awl to Ulli. Lastly, provide the Diagnosis to Ulli to wrap up the case and reveal the truth.
The chapter ends with Max. Grab the folder from the table and open it to lead into the next chapter.