OUR GAME GUIDES
Legend of GrimrockMurder in the AlpsThe Legend of Heroes: Trails in the SkyWizardry 6: Bane of the Cosmic ForgeWizardry 7: Crusaders of the Dark SavantWizardry 8Rune Factory: FrontierRune Factory: Tides of Destiny

Murder in the Alps:
"The Heir" Walkthrough
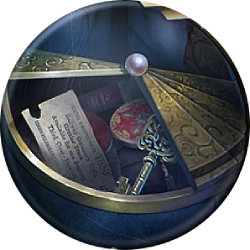
Use the compass icon on the right to open the navigation menu.
For each investigation, hover over or tap the items below the scene to reveal their location.
Whispered Secrets
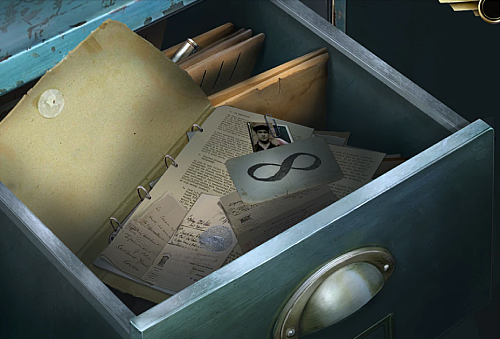
The Heir takes place almost four years before the events at the Reger Hotel. Anna, still a young but already well-known investigative journalist, has been invited to a press event in Milan. As the train barrels toward its destination, Anna feels her stomach demanding food.
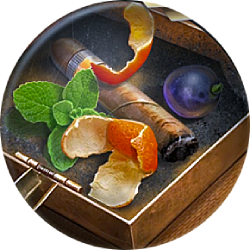
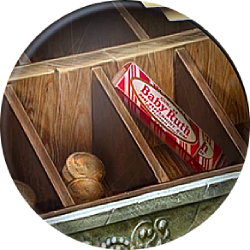
Collectable available: Molino 5C
Leave her room to bump into Osvald, who invites her to join him in the dining hall. Enter Carriage 2 and then proceed to the Dining Car. Sit at Osvald's table to continue their conversation about the upcoming event. Anna's friend isn't happy with the taste of his food. Stand up and check the nearby table for some salt.
Dining Car


Pass the man his salt so he can enjoy his "bland" meal and continue with the latest gossip. During the introduction of Aldo and Paola, Osvald chokes on his food.
Use the pitcher of water to fill the nearby glass. Give him the water so he can finish his introduction of Fabio. Afterwards, stand up and enter Carriage 2, where Aldo, Paola and Fabio's compartments are. Continue into Carriage 1, where Osvald will slip into Compartment 2. With nothing else to do, enter Anna's Compartment so she can rest for the night
Instead of a restful night, just 15 minutes later, loud knocks interrupt her peace. Check the door where Lino will inform Anna that Poala wishes to speak with her. Stroll to Carriage 2 and enter Paola's Compartment.
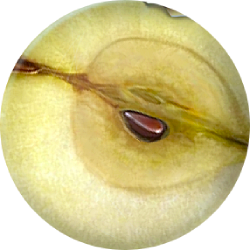
Collectable available: Seccarsi
After she tells Anna her fears, Poala asks her to leave so Aldo can sneak in. Return to Carriage 1 and into Anna's Compartment so she can rest for the night.
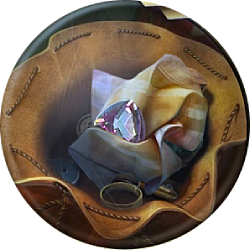
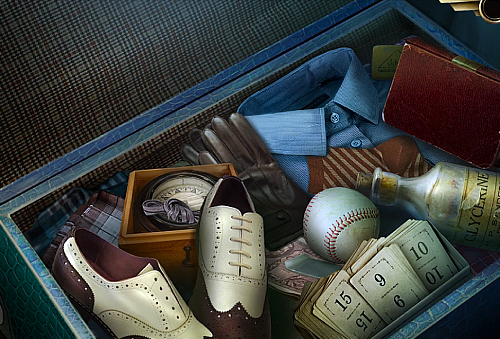
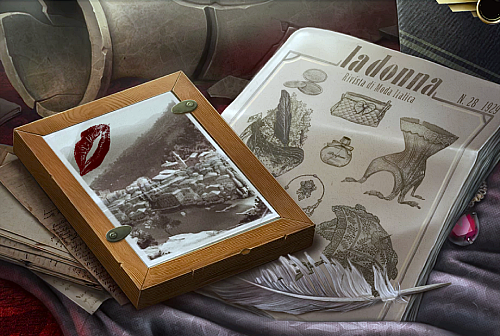
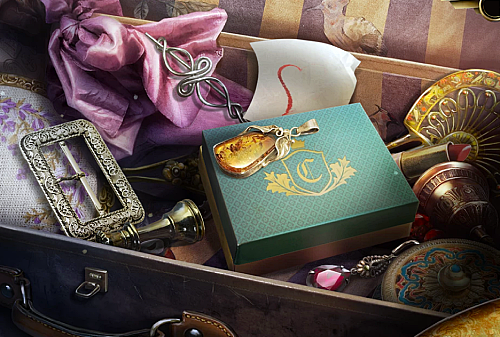
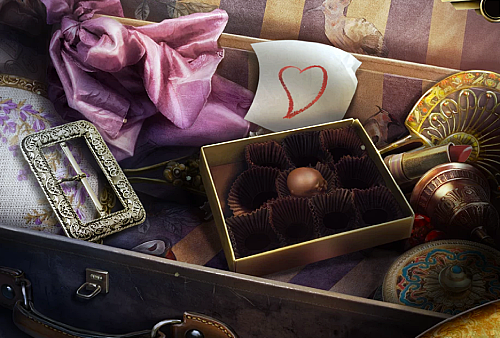
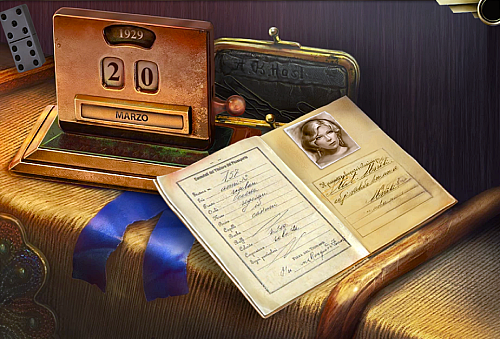
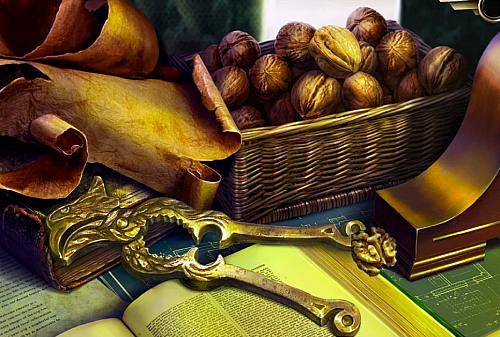
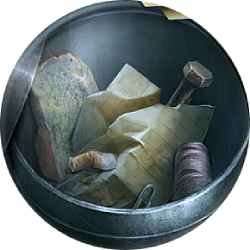
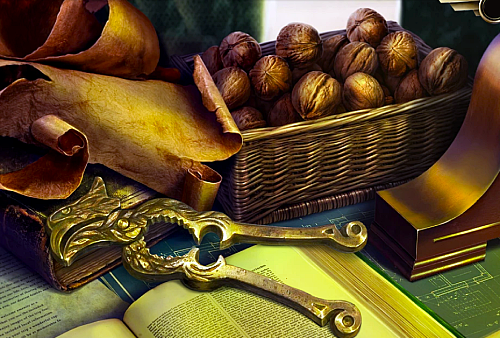
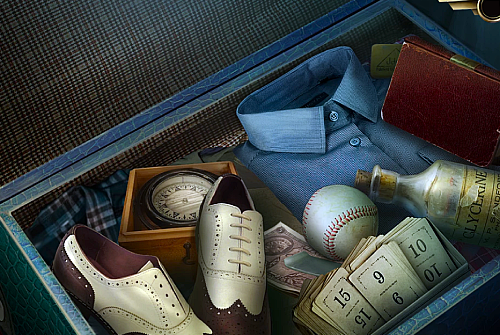
The following day, Anna wishes to get things ready for the big event. Examine the camera, assemble it, and get the flash from the luggage.
Click for the order to assemble the camera.
Examine the camera and assemble it with the parts nearby.

Next, examine the suitcase on the chair, flip all three clips up and open it.

Take the flash from the open luggage.

Return to the camera and drag the flash from your inventory onto the camera.

Take the assembled camera.
As you exit Anna's Compartment, Osvald will be waiting. Aldo joins them and is happy to snap a quick photo. Give Osvald Anna's Camera to shoot a quick picture before getting properly introduced. Aldo has agreed to the interview once the train stops. Return to Anna's Compartment to wait for that event.
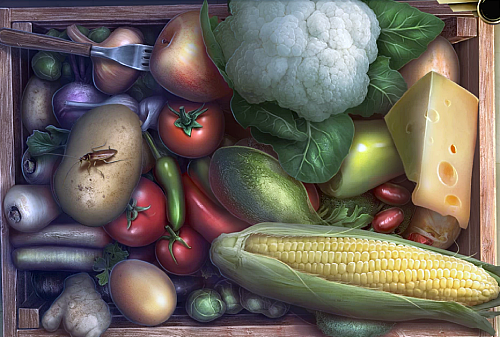
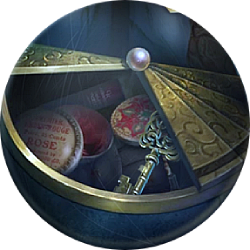
Anna needs her notepad, which you can find in her luggage. It is a dark brown book with a red bookmark.
Exit into the hallway, then step onto the Platform just to the right. Walk backward to the Platform Start, then follow Osvald into the Café. He would like a newspaper, but they are outside. Return to Platform Start and search for a newspaper for him.
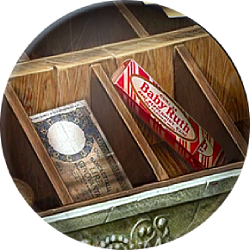
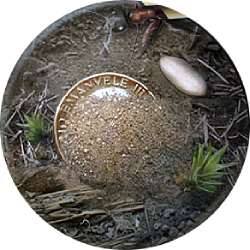
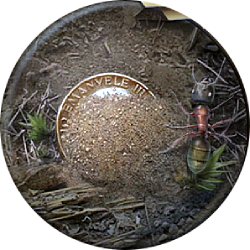
Collectable available: Imperatore S
Platform Start


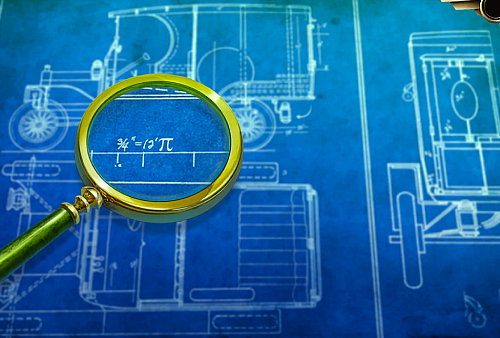
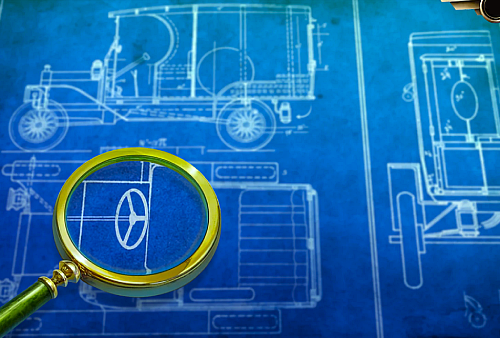
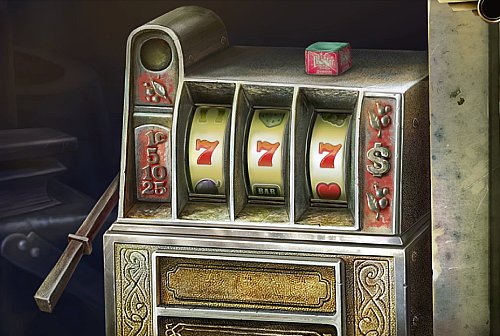
Return to the Café and give the newspaper to Osvald. There is still no sign of Aldo, though. While waiting, fix Osvald's watch by spinning the gears until the symbols in the connected parts match, then press the button on the right side to wind it up.
Click for the correct placement of the gears.

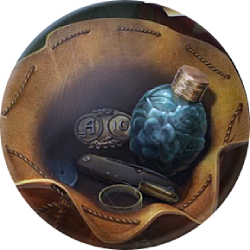
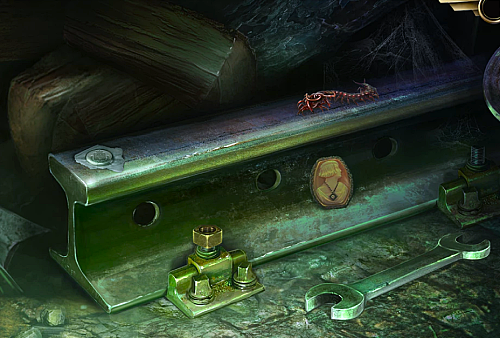
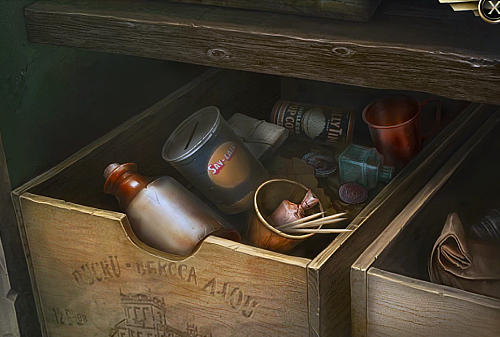
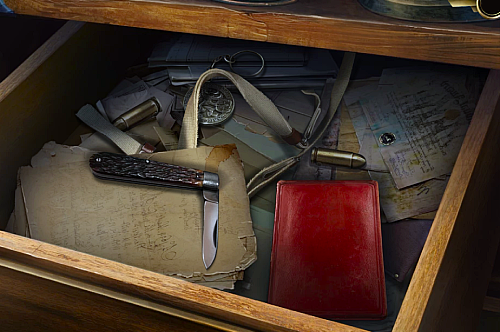
As Aldo still hasn't arrived, leave the Café, walk to Platform End, then enter Carriage 2. Someone dumped a lot of their stuff into the hallway. Check on Aldo's Compartment to find he isn't here either, and Lino hasn't seen him either. Once alone, search through his things.
Collectable available: Imperatore Una
Aldo's Compartment


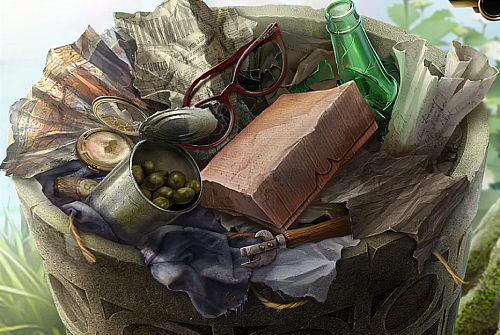
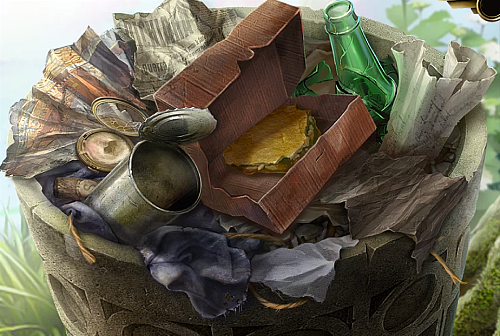
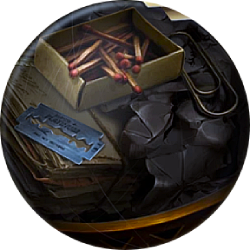
Leave the room to find Osvald watching a fight outside. Leave the train to find two women fighting over Aldo. Return to Carriage 2 and try to enter Paola's Compartment, but someone has torn the handle off. Search the nearby debris pile for it.
Carriage 2


Examine the door to Paola's Compartment again, then use the handle triangle-shaped hole. Try to use the handle to learn it is more broken than it appeared. Put the pieces together to open the door.
Click for the steps to fix the lock and handle.
Insert the four inner pieces first.

Place the plate to cover the inner components.

Add the handle and lock plate.

Murder on the Milan Express
We can finally enter Paola's Compartment to learn where Aldo has been all this time. Rush back to Platform End to inform the others.
We must inform the local police. Back up one screen to Station Middle, then enter the Lobby to the right. Giuseppe Cozzi will hear the yelling, collect information from Anna, and then ask to see the body.
Collectable available: Corragio A7
Guide the officer back toward the train, where he will help break up the two women. Enter Carriage 2, then into Paola's Compartment.
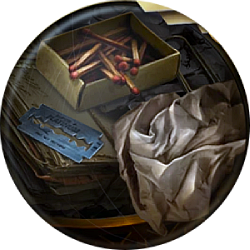
The grumpy officer needs a first aid kit. Leave the train and return to the Café where Vincent will direct you outside. Search the area.
Platform Start


Return to Paola's Compartment via Compartment 2 and give the officer the first aid kit. Anna notices something else on the floor that may help solve the crime.
Paola's Compartment


She finds an earring but ignores the bloody knife on the floor. Please give it to the officer, who will dismiss Anna's suspicions. You will need to get used to that in this chapter.
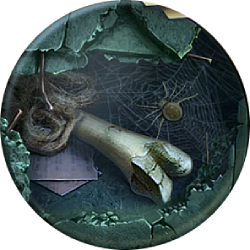
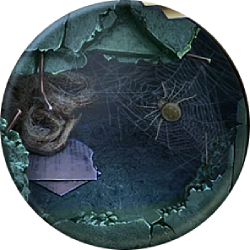
Leave the room and enter Carriage 2, where Luigi, the younger officer, prepares to investigate Silvia's Compartment. Open the first door, enter, open the blinds, and look around for clues.
Collectable available: Flora Spider
Silvia's Compartment


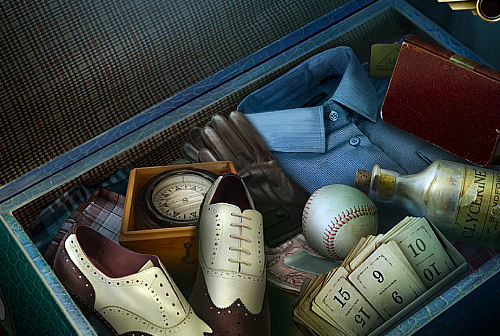
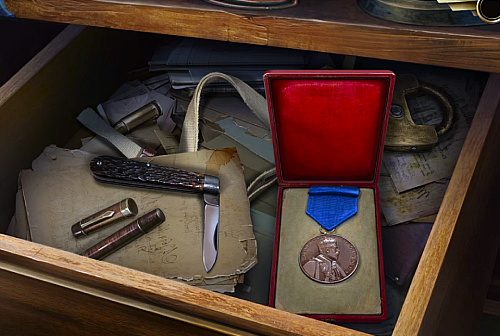
Return to Paola's Compartment with Luigi and give the earring to Officer Cozzi. Leave the room again and enter Aldo's Compartment. Help Luigi by searching his luggage again.
Aldo's Compartment


It is time to confront Siliva. Leave the train and enter Platform Middle, where Herman and Lino are already gossiping about her. Cozzi already arrested her as he had enough proof, but was that a hasty decision?
Stroll through the Lobby, past the Square and into Old Town. The Police Station is on the right side. Enter and give Signor Cozzi the charm.
Collectables available: Flora 1/2, Flora Ansaldi, Fulmine
We're All Suspects
After he kicks everyone out, join Luigi in Old Town and return to the station platform. Enter the café via Platform Start to learn that Paola didn't care about the menu here. Enter the train and walk through it until you reach the Dining Car.
Still no sign of Paola. Leave the train again and enter the station lobby, where Osvald is waiting. Travel with Osvald into the Square, then turn right on Cliff Road and proceed to Lake View. There, you will find the upset woman. Help her search for her earrings.
Lake View


Give Paola her ring, and then leave the grieving woman. It appears Anna has developed a mysterious shadow. Pass through the Square and into the Lobby. Osvald will leave Anna but continue to the platform, where the unknown person runs toward the tunnel. Give chase, but Anna will find the tunnel is too dark to continue.
Collectable available: Corragio A5
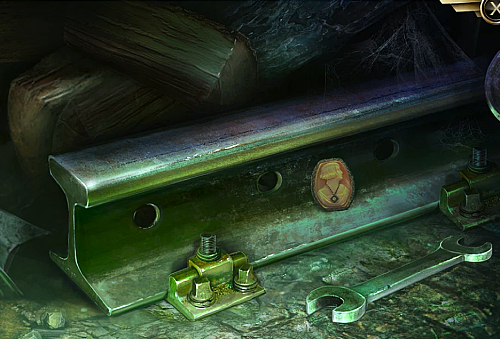
Return to Platform End, where Anna noticed the cellar is now open. Descend where you will find Herman organizing the boxes. Could you give him a hand?
Click for the correct placement for each set of crates.

After Herman leaves, check the crate on the right side to find it sealed. Check the furnace in the middle of the room to find a crowbar. Examine the crate again and use the crowbar to pry the lid off so Anna can search for a lamp.
Cellar


We need something to light the lamp. Leave the cellar to find Vincent smoking on the platform. Open the lamp and use the lighter in his open hand to light it. Return to the tunnel and place the lamp on the ground so we can investigate this area.
Tunnel


With no sign of the mysterious lurker, return to Platform Middle so Anna can question Lino about the morning's events. To find Luigi, enter the Lobby. Show him the business card, and he will allow Anna to speak to the prisoner.
Jog through the square and Old Town, then enter the police station. Check the prison door to learn it is locked. Search nearby for the keys.
Police Station


Examine the jail door again, move the keyhole cover, and use the key ring. Four keys will be available, but only the third key will unlock the door.
Collectable available: Corragio A1
Tap on the jail cell door and open the window by sliding the lever to speak to Silvia.
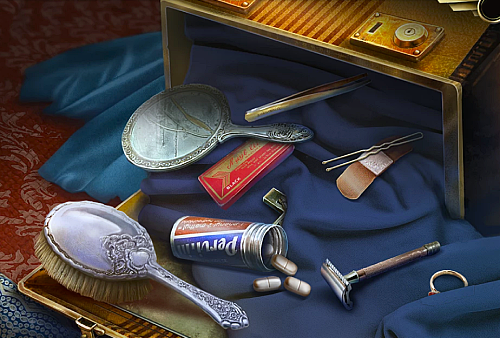
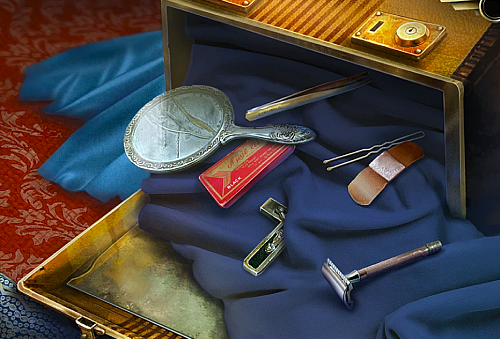
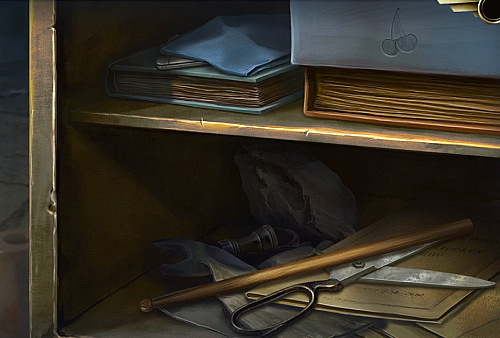
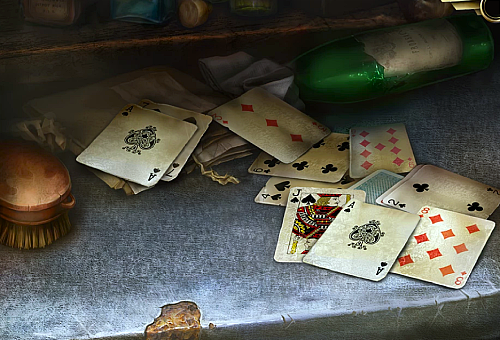
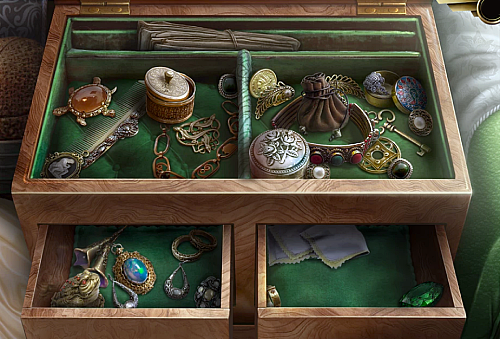
It sounds like someone has framed her. Stroll through town and return to the train. Enter Silvia's Compartment through Carriage 1. Her jewelry box is on the bench on the right side. When you examine the box, you will find it locked. Search around to search for the key.
Silvia's Compartment


Examine the jewelry box again and use the key we found to unlock it. To get further inside, we need to solve a puzzle. Move the jewel on the right around the field until all the gold orbs turn red.
Click for the correct path.

The letter is even more proof that the murder may have been a set-up. Leave Silvia's Compartment and enter Carriage 2. Luigi immediately tries the door, but there is no answer. Exit the train and visit the Lobby to find Herman. As you enter the Square, Luigi will describe the local landmarks. Continue forward until you reach Harbor.
Do Not Go Gentle
Investigate the freshly deceased and collect the glove. Pass it to Luigi so he can check the odd ink stain.
Collectable available: Molino ES
Luigi will stay behind, so rush through town and turn onto Cliff Road once you get to Square. Proceed up to Lake View and look around.
Lake View

Luigi arrives just in time for you to give him the note. Once the sun sets, stroll back down to the Square, where Office Cozzi will be waiting.
Since Luigi's senior officer is bullheaded, we must return to the train and enter Carriage 1. Proceed to Carriage 2, where Anna chooses to search through the luggage scattered in the hallway again.
Carriage 2


The clues point increasingly toward Fabio. Examine the door to Paola's compartment to pick the lock so Anna can snoop around more.
Click for the correct order.

The place is still a mess. Can you find something that will help the investigation move forward?
Paola's Compartment

Now that Anna has added her fingerprints on the likely murder weapon, examine the floor and place the knife back where you found it.
After several delays, enter the Dining Car and join Osvald. An unexpected guest joins them, who happens to be Anna's current suspect. Pass him the divider we found earlier. Once the others leave, return to Anna's Compartment for her to get some rest.
A new day begins, and a new chance at solving the murder begins. Leave the train and find Herman in the Lobby. Afterwards, exit the lobby and see Vincent in the Café. He will give Anna lousy news about her lead just before Osvald appears. He wants a beer, so leap over the bar to get one.
Click for the correct placement of the taps to provide the correct beer.

Give Osvald the beer to tell you what he knows about Fabio's visit to Porto Ceso. Leave the Café and return to the Lobby to bug Herman for some keys. The local police have thoroughly sealed it off, so Anna decides to "borrow" them from the station.
When you arrive in Old Town, Anna will spot Officer Cozzi. Use the barrel on the right side to distract the officer so you can sneak inside. Search around for the keys.
Police Station


Walk out of the police station and return to Platform End. Examine the cellar door and use the key to enter. Search around to find any clues that confirm where the murder weapon came from.
Cellar


Place the cutlery box on the nearby anvil and examine it. To open the chest, you need to solve a short puzzle lock.
Click for each step to unlock the box.
Begin by turning the two side pieces until the openings are in the middle.

Next, turn the middle area until the open areas are at the top and bottom.

Finally, turn the bottom part until the clasp opens.

Leave the cellar and return to Carriage 2 on the train. Check Mr. Verno's Compartment to confirm that he isn't there. Then, enter and snoop around.
Collectable available: Molino 1C
Mr. Verno's Compartment


The note indicates the blackmailer wants to meet Fabio in the tunnel. It's time to search the dark tunnel.
In the Darkest Places
When you arrive, no one is in the tunnel. Did you miss them, or have they already left? Search for clues.
Tunnel

Open the electrical box above the search area, examine it, and then attach the lever. It requires additional modifications to fix it before the switch can be activated.
Click for the correct positions to fix the electrical box.

A hidden storage room? Pick up the valve wheel on the ground, as you will need it in a second, then enter. Hot steam prevents Anna from entering. Attach the valve we just picked up to the pipe on the right side, then give it a spin.
Collectable available: Imperatore Gioco
Is that blood leaking from the locker? Checking the lock will reveal that a code is required. Search the nearby area for one.
Service Room


Examine the locker again and enter in the place the code we found next to it. Turn the numbers on the padlock to match to open the locker.
Three deaths in two days. Cozzi is not going to like this. Search the body for clues, then leave the Tunnel and rush to the police station. With no one there, check the harbor where Office Cozzi rewards Anna for her assistance.
Collectable available: Flora 3000
You'll be in your new room for a while. You might as well look around.
Cell


The police must have released Silvia, and Mr. Verno joined Anna in the town jail. If we can find the proper item, you may be able to speak to him. Search around again.
Cell


Use the prybar on the patched wall on the right side. The bricks may be loose enough to make a small hole.
Click for the correct bricks to press.

Is Fabio telling the truth, or is he trying to avoid murder charges? The senior officer has finally cooled off, so leave the prison cell and return to the police station to learn that Cozzi has still learned nothing.
Behind the Veil
Exit into Old Town so Anna can convince Luigi to help. Start with the tunnel, which is accessible via the station platform. Enter the service room and search the area for clues.
Service Room


Clear the table of clutter, then place the jacket and the torn fabric on it so you can confirm the piece fits.
Click for the solution to the jacket puzzle.

If Vincent was following Anna, could he have been the blackmailer? Return to the train, enter Mr. Verno's Compartment in Carriage 2, and search for more clues.
Mr. Verno's Compartment


More planted evidence? Leave this compartment and enter Paola's Compartment to search there as well.
Paola's Compartment


Was the victim dragged into this compartment? Better rush to Aldo's Compartment to look for more clues.
Aldo's Compartment


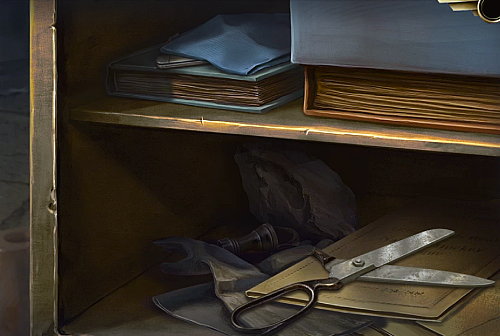
Place the briefcase on the table and examine it. Check the belongings in the hallway of Carriage 2 for something that may help.
Carriage 2


Return to Aldo's Compartment and examine the briefcase again. Then, use the Hairpin on the lock to try to unlock it.
Click for assistance with the briefcase lock puzzle.
Trigger each pin as the yellow moving line in the middle of the green area on the top of the puzzle. It gets increasingly more challenging with each pin as the green area shrinks and starts moving. See below for the location where it needs to be activated:

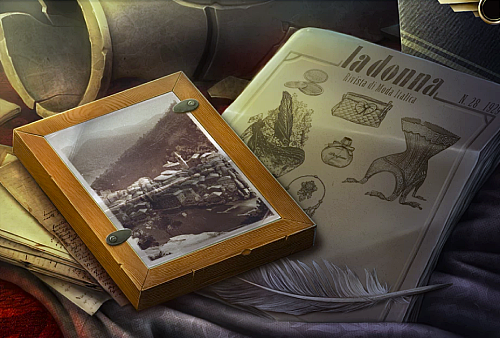
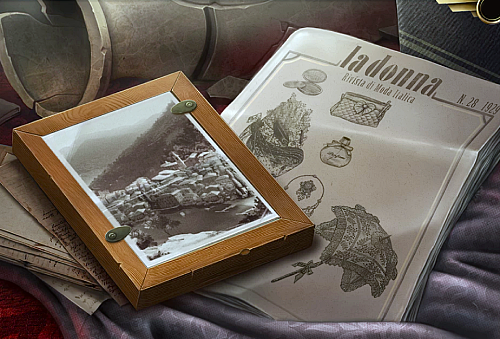
Leave Aldo's Compartment, shuffle to Corridor 2, and enter Siliva's Compartment. Give her the handkerchief we've been holding onto, then the photo.
After learning about Osvald, they will automatically go to the Police Station. Search the desk behind Luigi for handcuffs.
Police Station


Note: If you have any collectables left to find and redeem, you must collect and redeem them now, or they will reset at the end of the chapter.
Return to the train and enter Silvia's Compartment through Carriage 1. When Osvald blows his gasket, give Luigi the handcuffs so they can make the arrest.
Anna will reveal how she solved the case. During the reveal, Cozzi will be given the blackmail note and the documents to Mr. Verno. The chapter wraps up, but the Porto Ceso story continues in "Exiled Dead."