OUR GAME GUIDES
Legend of GrimrockMurder in the AlpsThe Legend of Heroes: Trails in the SkyWizardry 6: Bane of the Cosmic ForgeWizardry 7: Crusaders of the Dark SavantWizardry 8Rune Factory: FrontierRune Factory: Tides of Destiny

Murder in the Alps:
"The Phantom" Walkthrough
Use the compass icon on the right to open the navigation menu.
For each investigation, hover over or tap the items below the scene to reveal their location.
Echoes of Reger
Achievements available: This is the shortest chapter in Murder in the Alps and is the best chance to earn the 'What's The Hurry' and 'Hypnotized' Achievements.
The Phantom begins with Anna arriving in the nearby town after leaving the Hotel Reger, only to be pulled into another murder investigation. After being told about the recent death, follow the Policeman into the Town Market, where we find what remains of Helmut. Continue forward into the Police Station, then check the glass case for the keys.
Collectables available: King, Knight
The key case is locked, so Anna will need to break in. Turn the three dials until the opening spaces are to the left. The bolt will disengage automatically. It is very fussy, so be sure you have the gap perfect, or the door will not unlock.
Pocket the Bar Key (the one with the large mug hanging from number 6), then return to the Policeman at the Town Square where Anna left her car. Examine the Bar door, insert the Key, and then enter. The Bar is a mess. Open the curtain to expose the area so Anna can check it.
Collectables available: Bishop
Bar


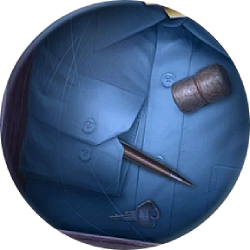
Why would a police badge be hidden in a bar? Leave the building, stroll through the Market, and enter the Police Station. Turn left within the Police Station to enter the Prison Corridor, where they will find something odd has happened while the officer was away.
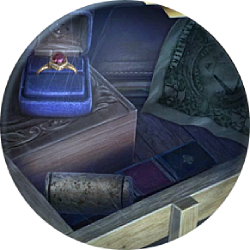
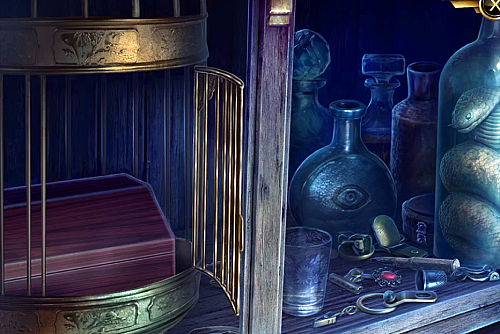
Enter the Prison Room to find a second corpse. Examine her arm to find suspicious marks, then check through the luggage, which she was able to keep in her prison cell for some reason.
Collectables available: Pawn, Queen
Prison Room


Hand the book to the Policeman so Anna can tell him about some of the events from the Hotel, then walk out of the Police Station and back into the Market.
Examine Helmut and roll up his sleeve to find similar markings that we found on the prisoner. After the officer leaves, examine the body again and pick up the small button resting on his lap for a new clue.
Ritualistic Revelations
A burglary at the antique shop and police from other areas arriving earlier than expected? That sounds suspicious. Examine the key cabinet behind the Policeman, take the Shop Key hanging from number 1, then return to the Town Square.
Examine the Antique Shop door, use the key, and then enter. The Policeman states someone stole two daggers, which you can see from the display on the wall. Check the area behind the officer to look for any clues.
Collectables available: Rook
Antique Shop


Who would have returned this dagger to the shop after the Policeman checked for it? Does this match the wound? Return to the Police Station and enter Claudia's Prison Cell. Examine the body, then drag the dagger on the X mark to confirm it was the murder weapon.
Search through the deceased's belongings again to check for any other clues.
Prison Room


That Cipher Disk wasn't there before. How did it get here? Pass the Policeman the Badge and Button from your inventory to confirm something suspicious is underway. Back out of the prison area for the power to go out. Great timing! Take the instructions from the Policeman, then return to the Bar.
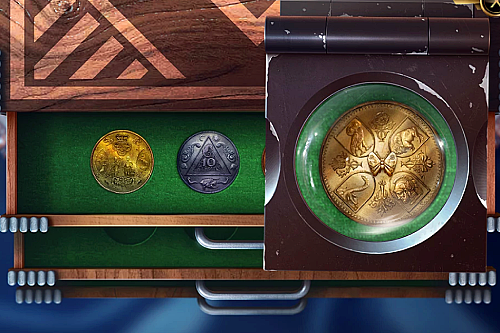
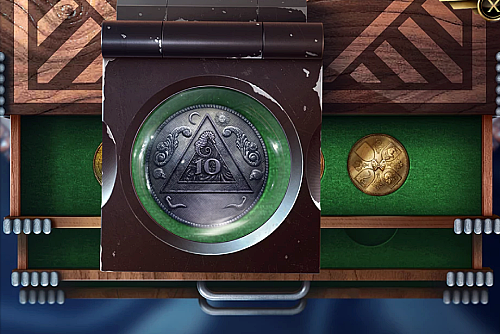
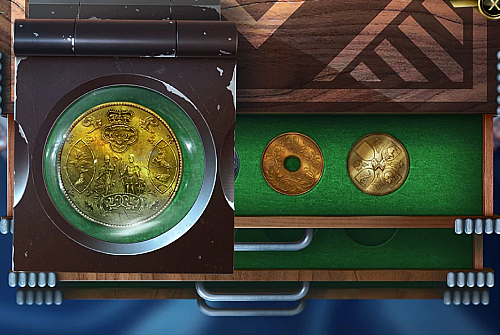
Within the Bar, find and take the Lantern resting on the stool. The Lantern isn't very helpful without a method to light it. Return to the Market and check the machine near the scale to learn that Anna requires a coin to buy matches. Leave the Market and enter the Antique Shop again. Examine the Cash Register on the right side, punch the numbers in the order written on the paper just to the left of the machine, and then pull the lever. How convenient is it that the owner left the code there? Take the only coin inside it, then bring it to the Market.
Show the register code for the Antique Shop.
25328Examine the Matchbox Machine again, deposit the coin into the slot, then pull the lever to get a box of matches. Unfortunately, they are all wet. Desperate times call for dangerous choices. Return to the Police Station and enter the Prison Corridor. Examine the wood stove in the corner and place the box onto the surface to let it dry. Hang the Lantern on the hook on the left, then take a match from the box that is still roasting on the stove and light the Lantern. (I would not recommend trying this in real life.)
With a more reliable light, return to the Town Square and check the power cage next to the Bar to learn that a key is needed. Unfortunately, the Policeman forgot to give it to you. Return to the Police Station to learn that the key is missing. Return to the Town Square, enter the Bar and pick up the crowbar from the bench on the left side.
Leave the Bar, examine the Transformer again, and pry open the lock with the crowbar. You will need to attach the wires in the correct order. Check the journal for the pattern, not the paper inside the box, then pull the switch.
Click for the wire solution.

With the power restored, Anna can return to the Police Station to recap what just happened before they retire for the night.
Cipher of Truth
Professor Clark poorly explains how he's not involved in this but needs his book to prove it. Take the Key from the Policeman, then return to the Police Station. You will find the book cabinet just left of the Prison Corridor. Examine the glass doors, then use the Key on the lock to open them. Grab the red book with the hard-to-miss 'Charles Clark' on it, then return to the Town Market.
Give the book to the Policeman, who will confirm that the symbols don't match. Return to the Police Station again, enter the Prison Corridor, and then the Prison Room to verify that the symbols are unrelated to Professor Clark's work. Leave the prison, back out all the way to the car, and enter the Bar. Search the shelves for more clues.
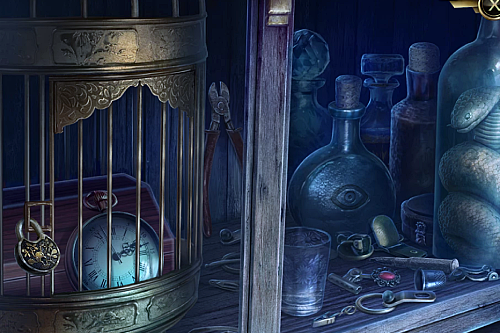
Bar

We now have a coded message and a cipher disk. Perhaps something at the Antique Shop will help put the pieces together. Leave the Bar and enter the store to learn that someone has been inside since Anna left. Check the corner for clues.
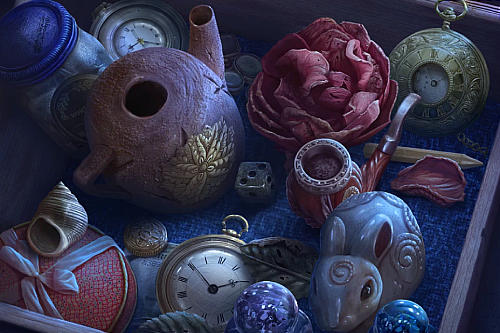
Antique Shop


With the Decipher Machine, Anna can now crack the code. First, place the Machine on the table next to the stuffed rabbit, then the Note on the open lid, and finally, attach the Cipher Disk to the machine.
This puzzle requires you to decipher the red line to the correct message. Use the gold wheel to the left of the letters at the bottom to change the letter to match the top line. Drag the marker with the red button attached to it between the two options. When you have the most likely letter, spin the gold wheel again to match another letter on the top and change it to the next letter. Continue until the message is complete.
Click for the correct message.

Solving the message concludes this short chapter as Anna explains what she believes has happened. Still, it doesn't answer who the assassin was. That will be for another chapter.